Overview
The AI Assistant — powered by the AI Agent — is available directly inside the editor to help you write, rewrite, improve, and refine your document content without leaving the page. Whether you need to adjust tone, expand a section, fix grammar, or completely rewrite a paragraph, the AI Agent handles it in seconds.
Accessing the AI Agent
Open any document in the editor
Click the AI Agent icon on the right panel
-
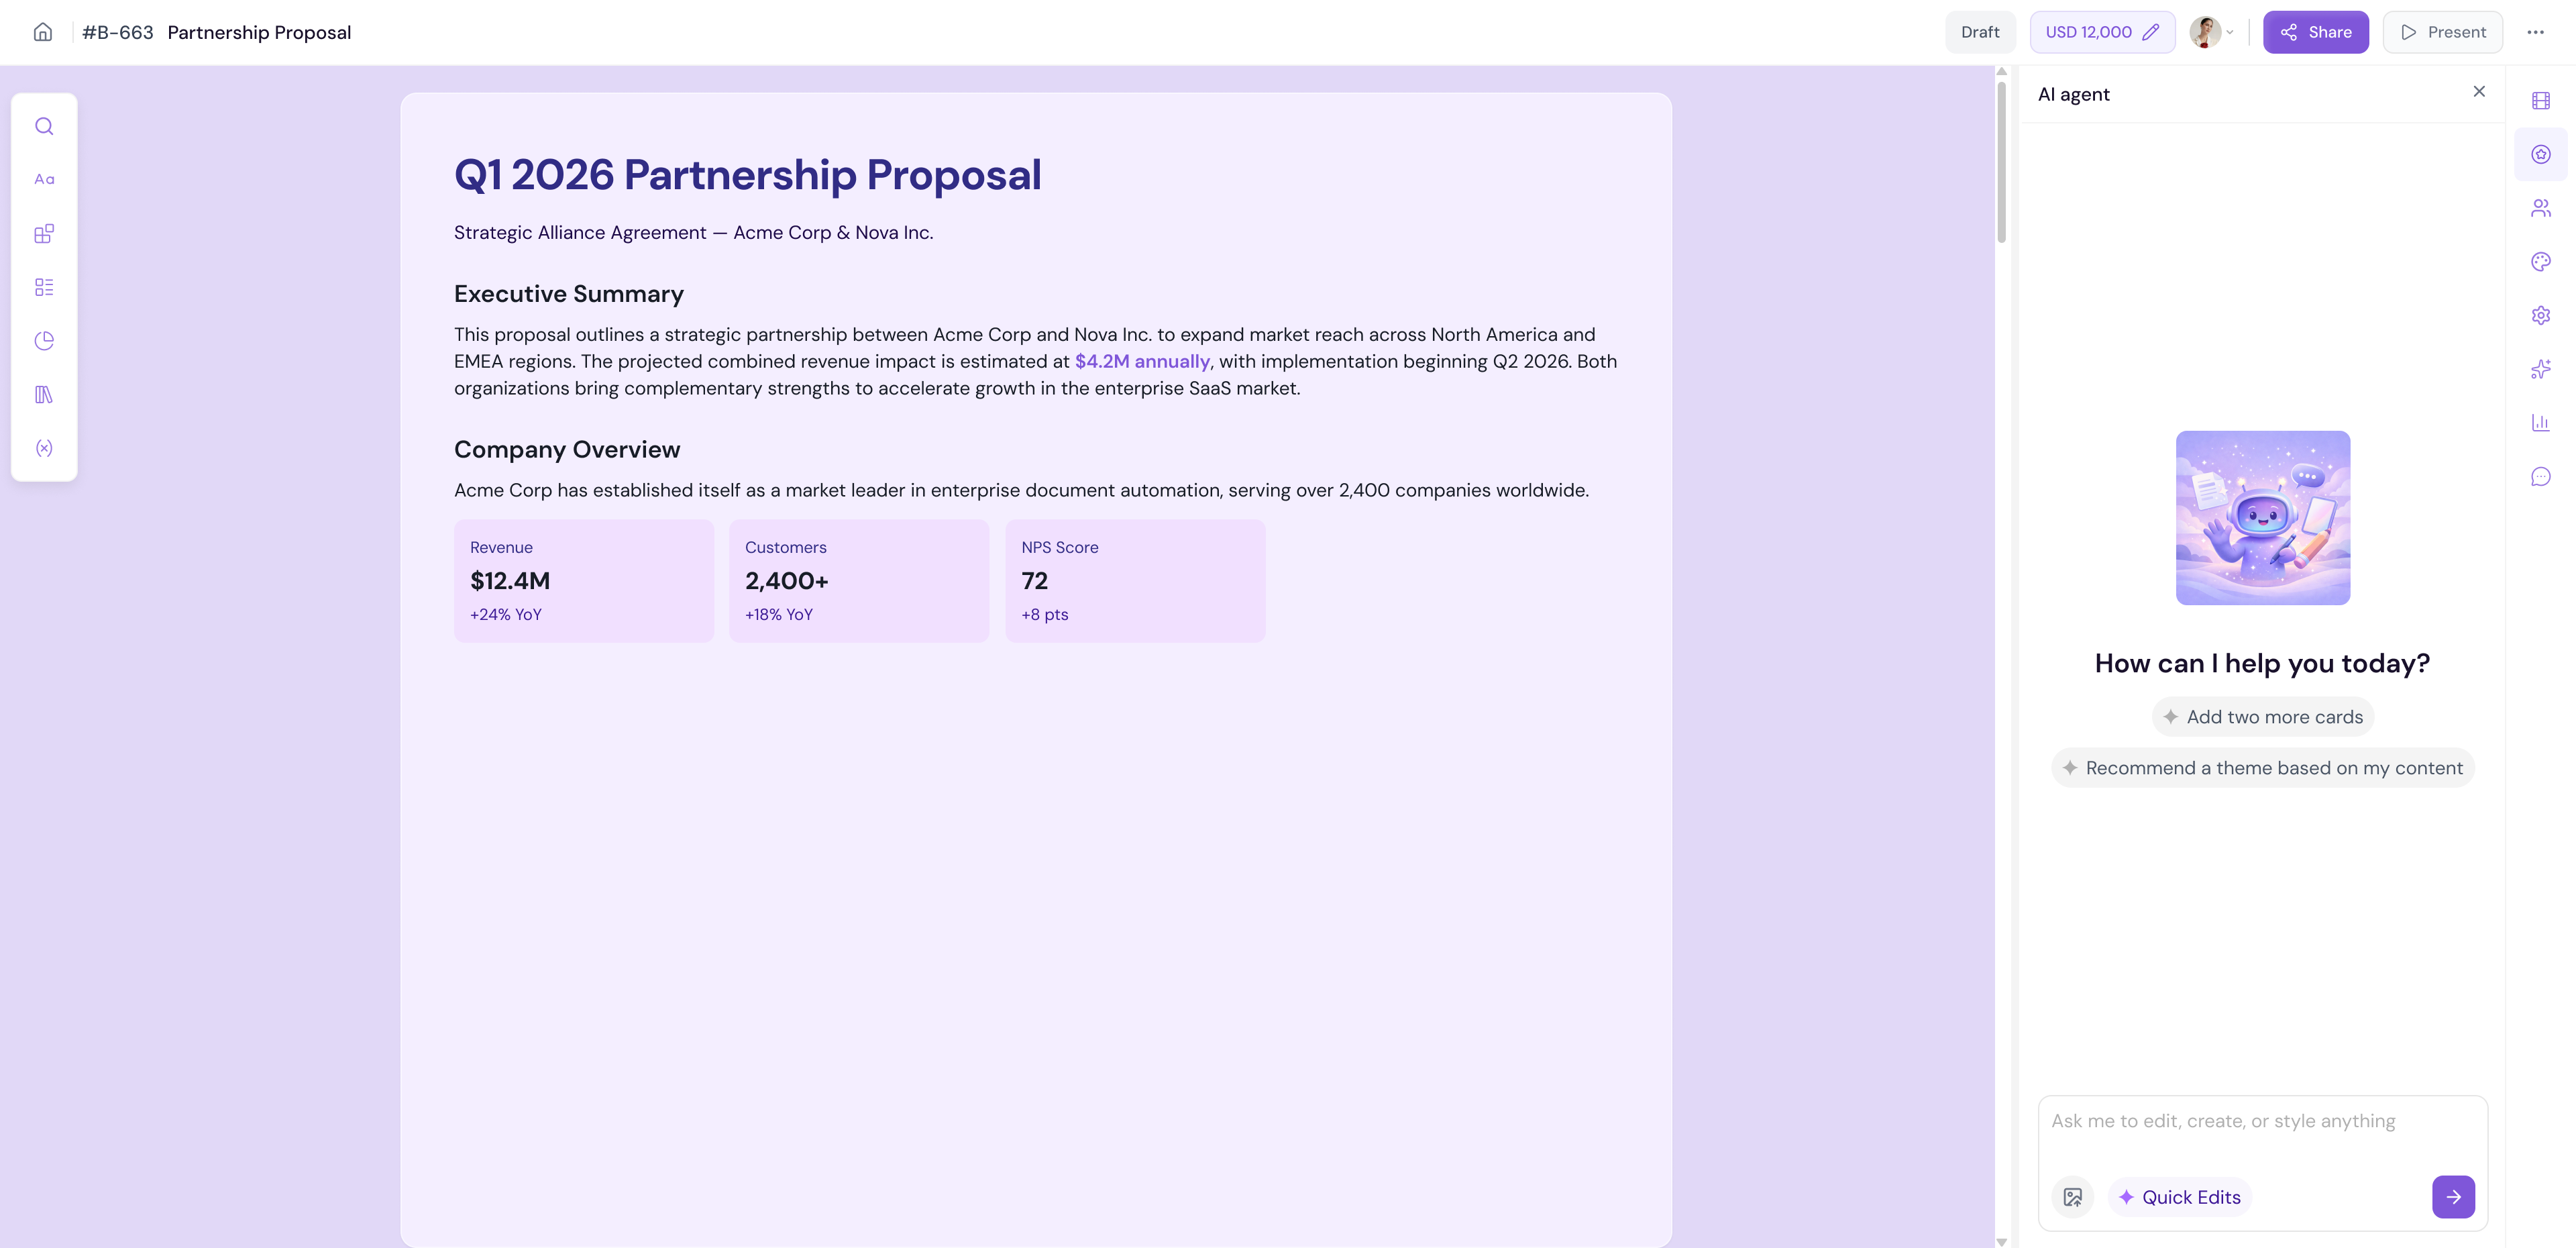
The AI Agent panel will open ready for your instructions
Using Custom Prompts
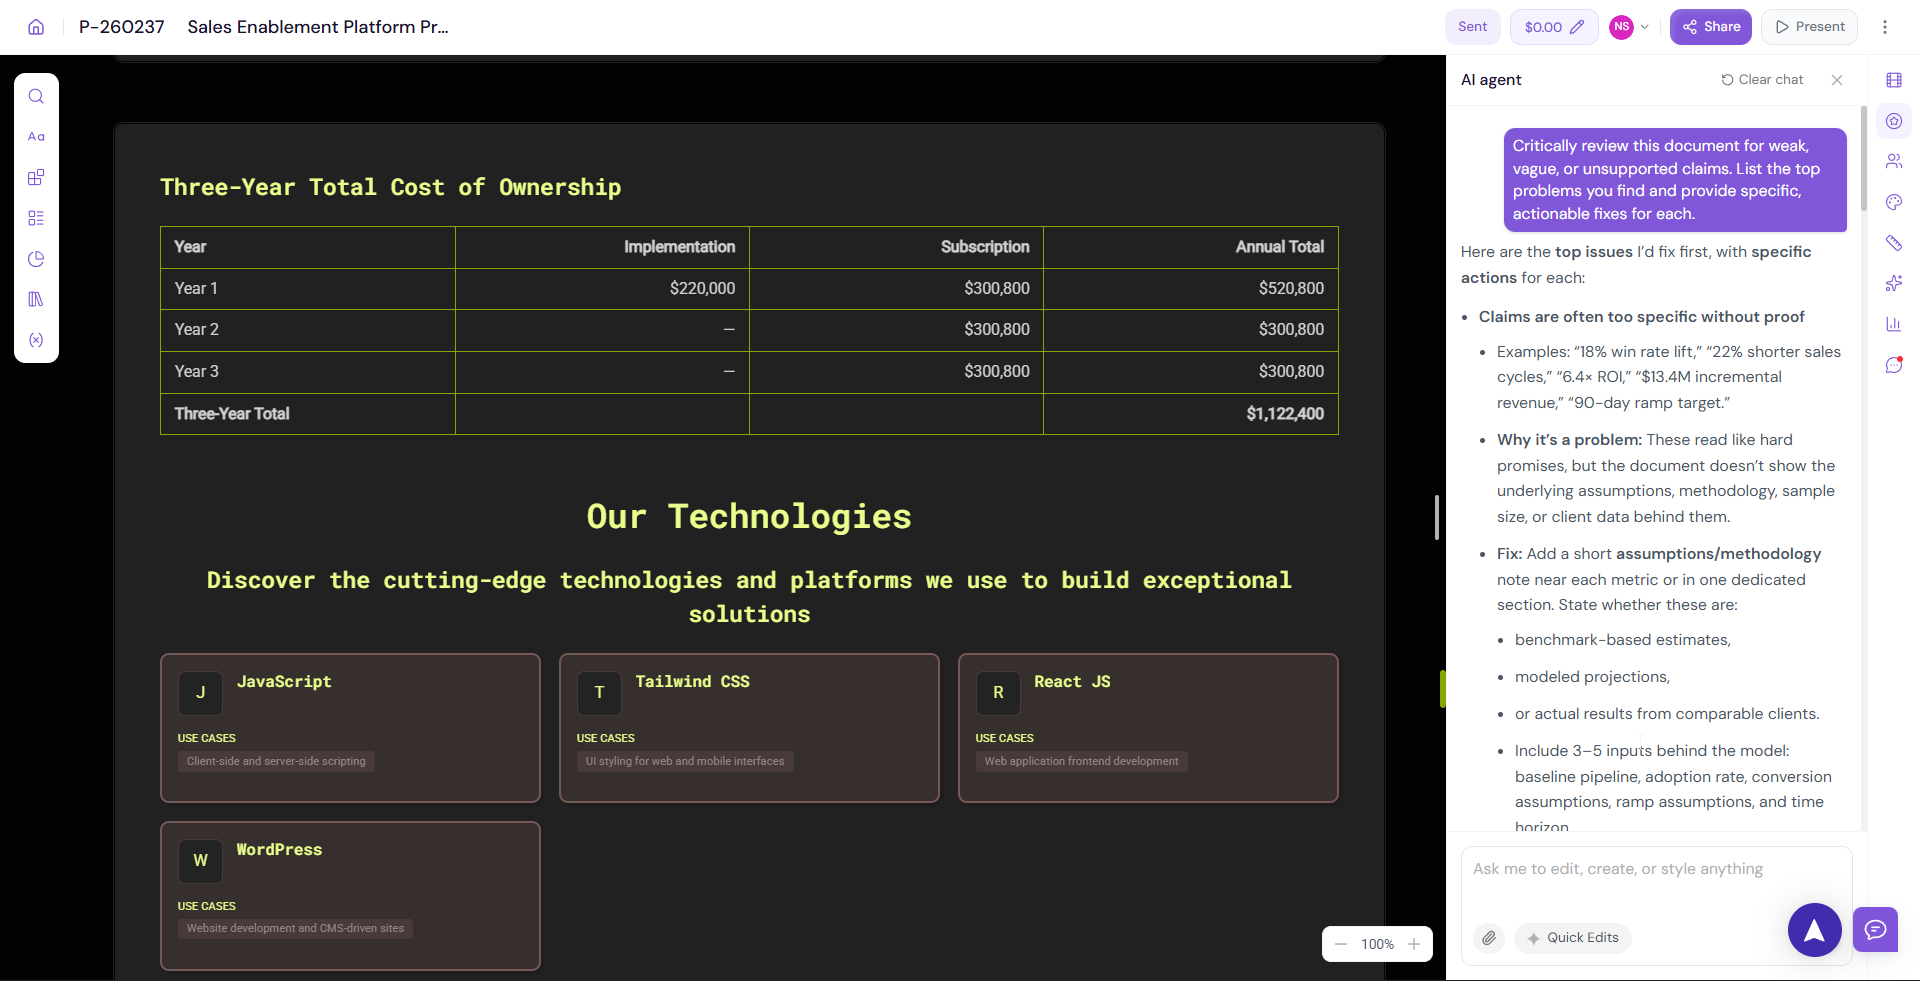
For specific or complex edits, type a custom instruction directly into the AI Agent.
Select the text or block you want to edit on the canvas
Open the AI Agent panel
-
Type your instruction in the prompt field — for example:
"Rewrite this paragraph in a more confident tone"
"Make this section shorter without losing key points"
"Add a closing statement that encourages the client to sign"
"Translate this section to Spanish"
"Expand this paragraph with more specific details about our process"
The AI will generate a suggestion
-
Review the output and choose to:
Accept — Apply the changes to your document
Reject— Discard the suggestion and keep the original content
💡 Pro Tip Be as specific as possible with your prompts. "Improve this" will give you a generic result. "Rewrite this opening paragraph to lead with the client's pain point and position our solution as the answer" will give you something much more targeted and useful.
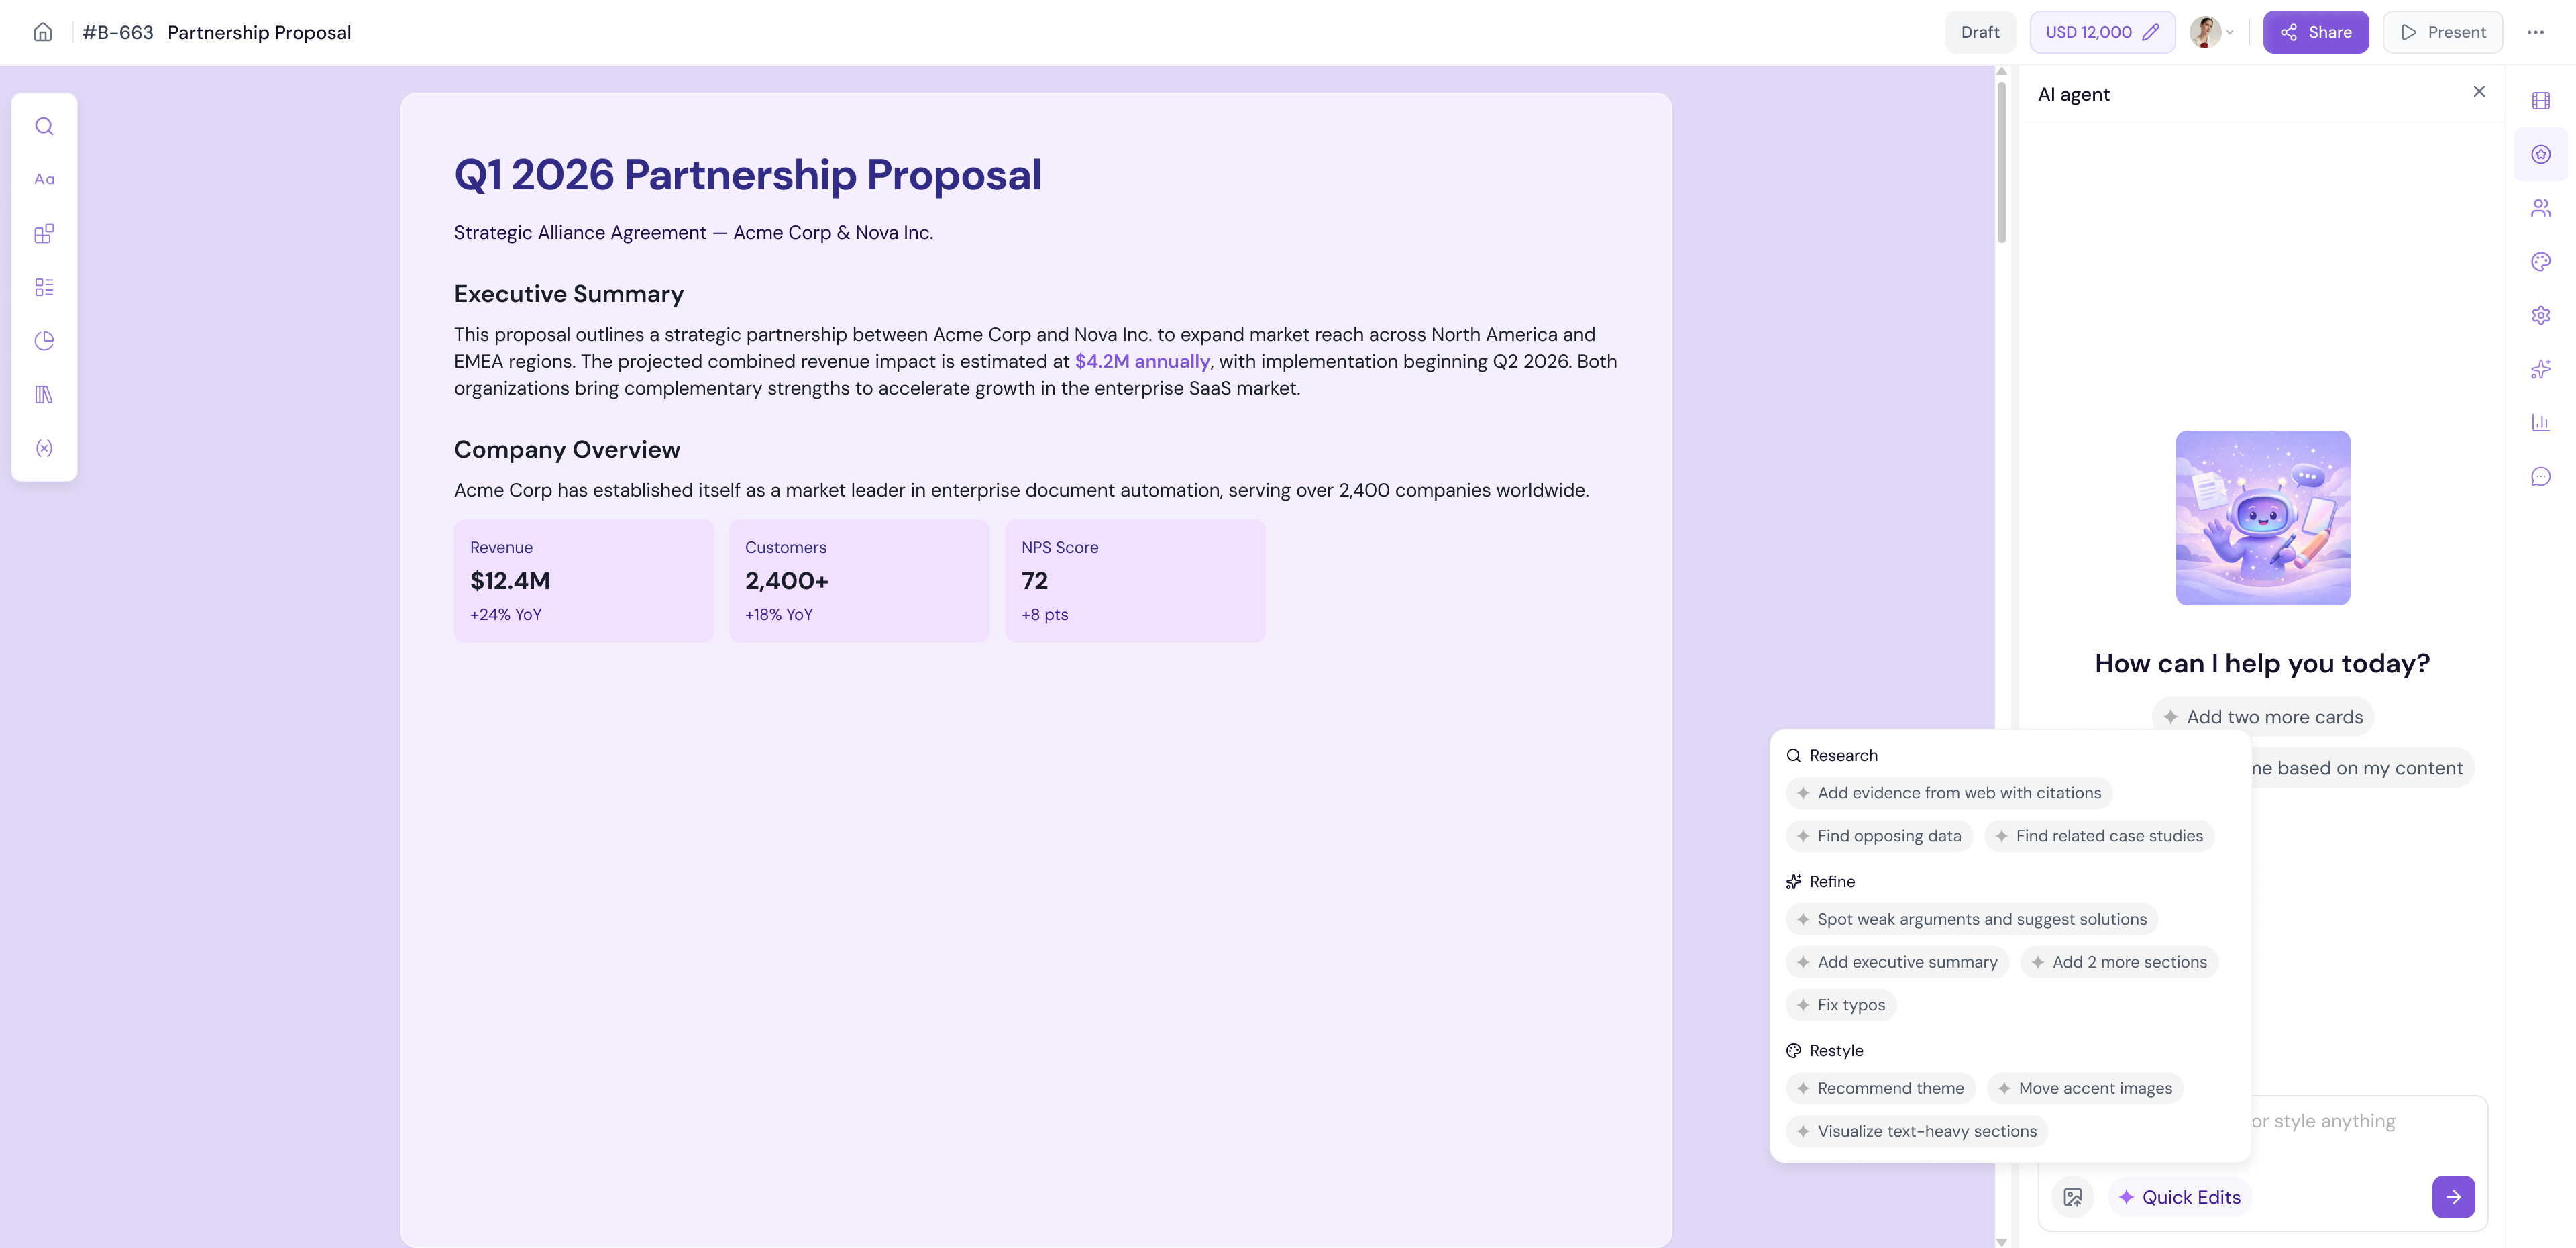
Using Quick Edits
Quick Edits are pre-built AI actions for the most common editing tasks. Instead of writing a custom prompt, select a quick edit to apply it instantly.
Select the text or block you want to edit on the canvas
Open the AI Agent panel
Browse the available Quick Edit options
Click on an option to apply it
Available Quick Edit options include:
Make it shorter — Condense the content while keeping the key message
Make it longer — Expand the content with more detail and depth
Improve writing — Enhance clarity, flow, and readability
Fix grammar — Correct grammar, spelling, and punctuation errors
Change tone — Adjust the tone of the content (e.g. more formal, more conversational)
-
Simplify language — Rewrite in simpler, easier-to-understand language
💡 Pro Tip Use Fix grammar as a final pass on every document before sharing. Even well-written content can have small errors that slip through — the AI catches them instantly.
Reviewing AI Suggestions
Every time the AI generates a suggestion — whether from a custom prompt or a quick edit — you are always in control.
The AI will show the suggested changes in the panel
Review the suggestion carefully
-
Choose one of the following:
Accept — The suggestion replaces your original content on the canvas
Discard — The suggestion is removed and your original content stays unchanged
[Insert screenshot: AI Agent — suggestion displayed with Accept and Discard buttons]
Note You can always undo an accepted change using Ctrl+Z if you change your mind after applying it.
AI Agent and Custom Instructions
If you have set up Custom Instructions in Settings → AI Settings, the AI Agent will automatically follow those instructions every time it generates content inside the editor. This means:
Your brand voice is applied consistently across all AI outputs
You do not need to repeat preferences like tone, language, or formatting rules in every prompt
-
Every team member's AI-generated content will follow the same guidelines
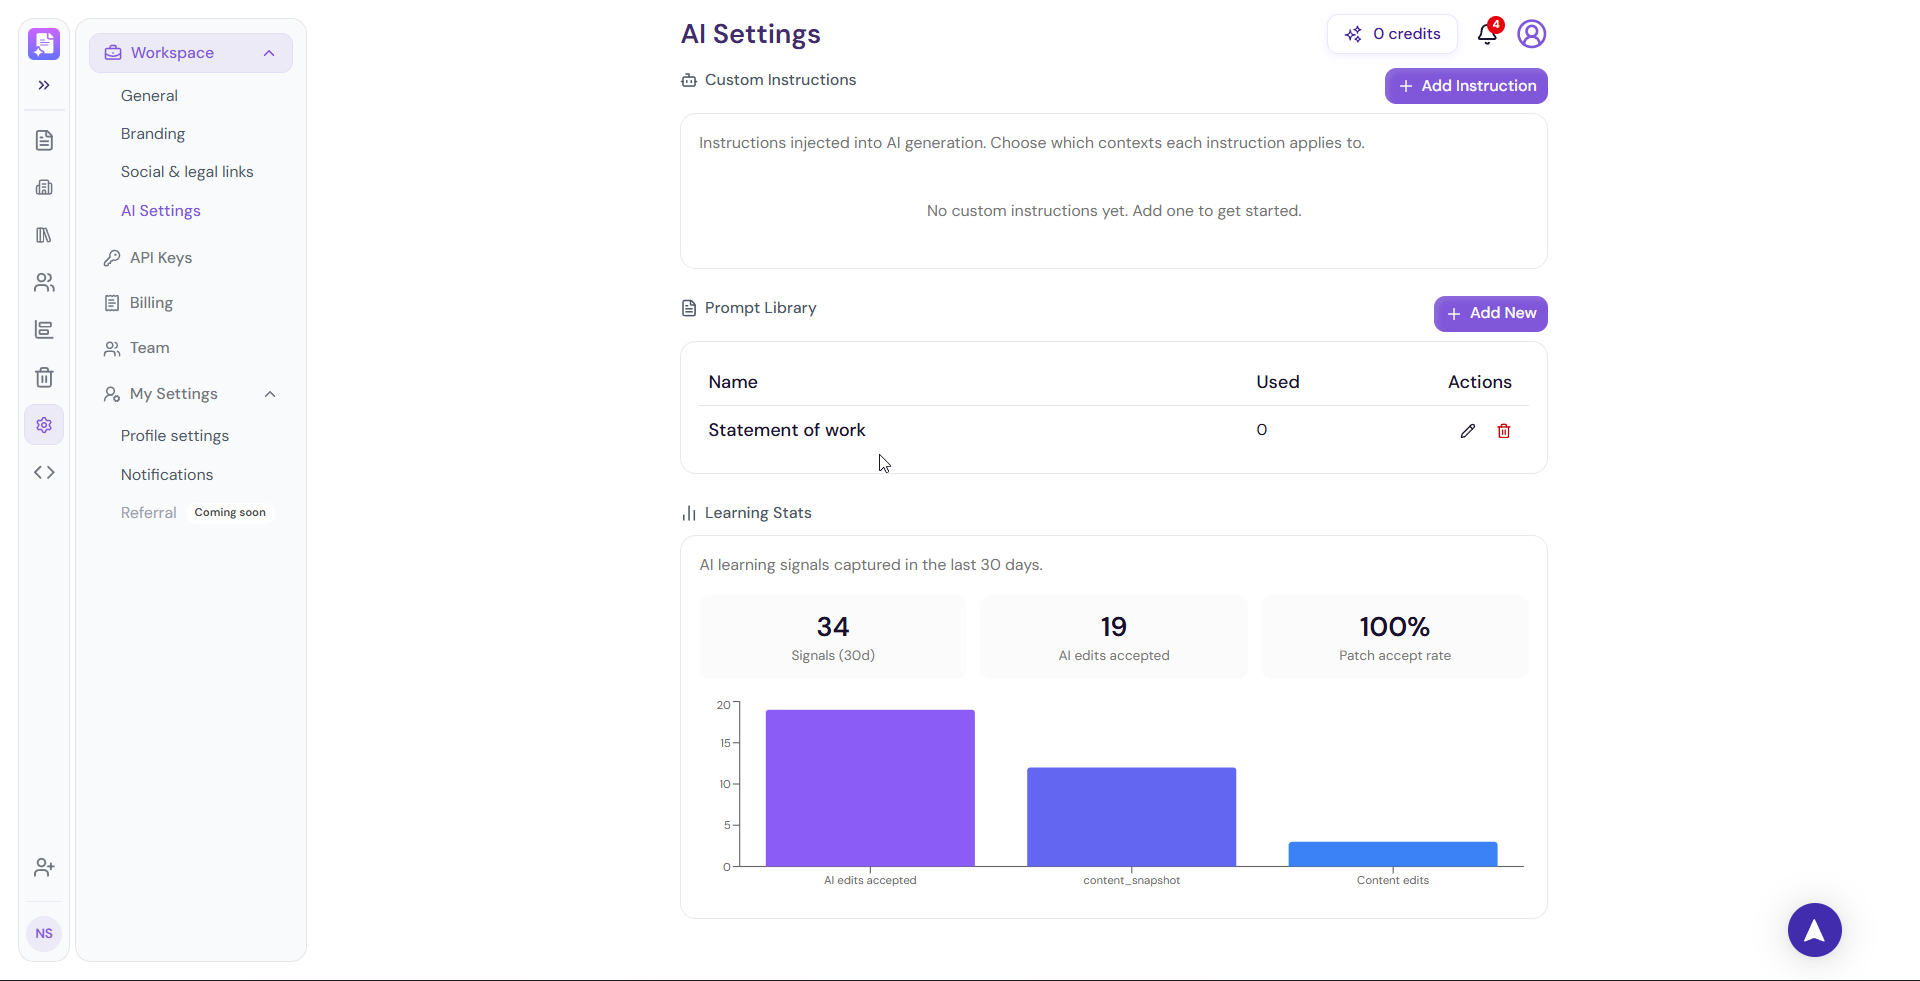
💡 Pro Tip Set up Custom Instructions once with your brand tone and style preferences — for example "Always write in a confident, professional tone. Use British English. Avoid jargon." — and every AI edit across every document will follow these rules automatically.
Next Steps Section 2 — Creating Documents is now fully complete. Move on to learn about the Template Center, Knowledge Base, Settings, Integrations, or Reports & Analytics.