Overview
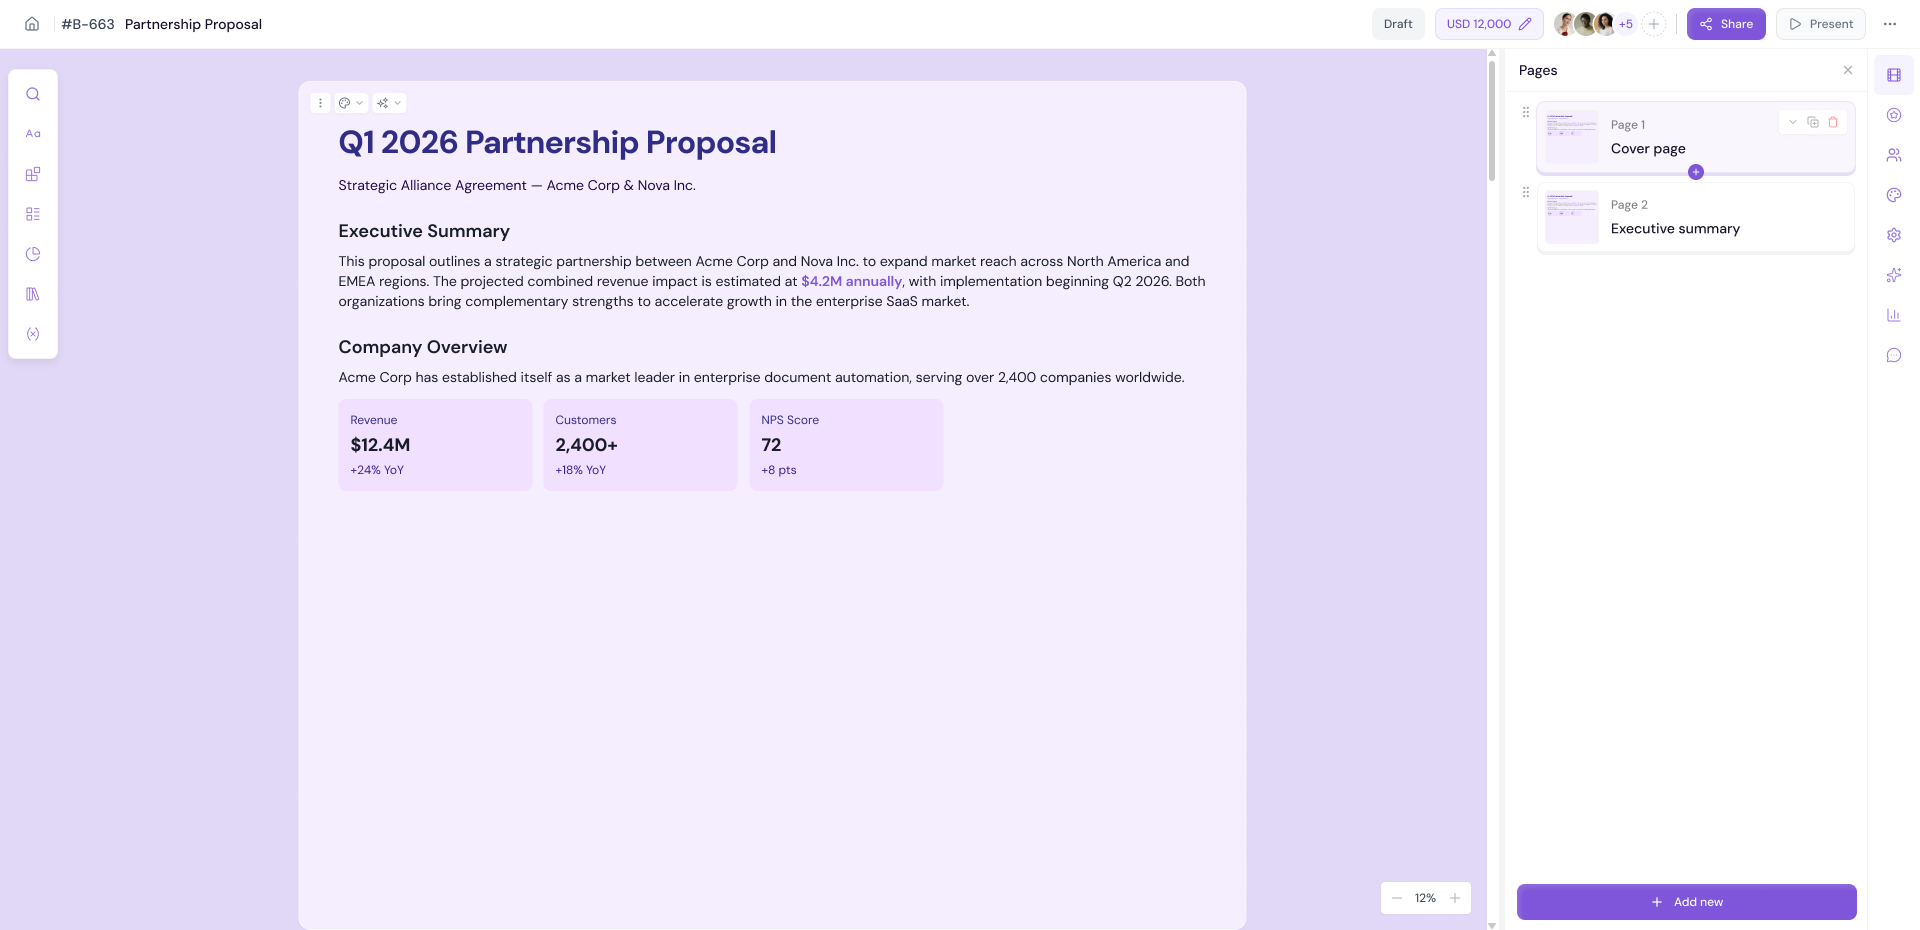
The right panel is your command center for document-level actions and settings. From AI-powered editing to recipient management, theme customization, layout control, evaluation, analytics, and team comments — everything you need to manage your document beyond content creation lives here.
Each tab is represented by an icon on the right side of the editor.
AI Agent
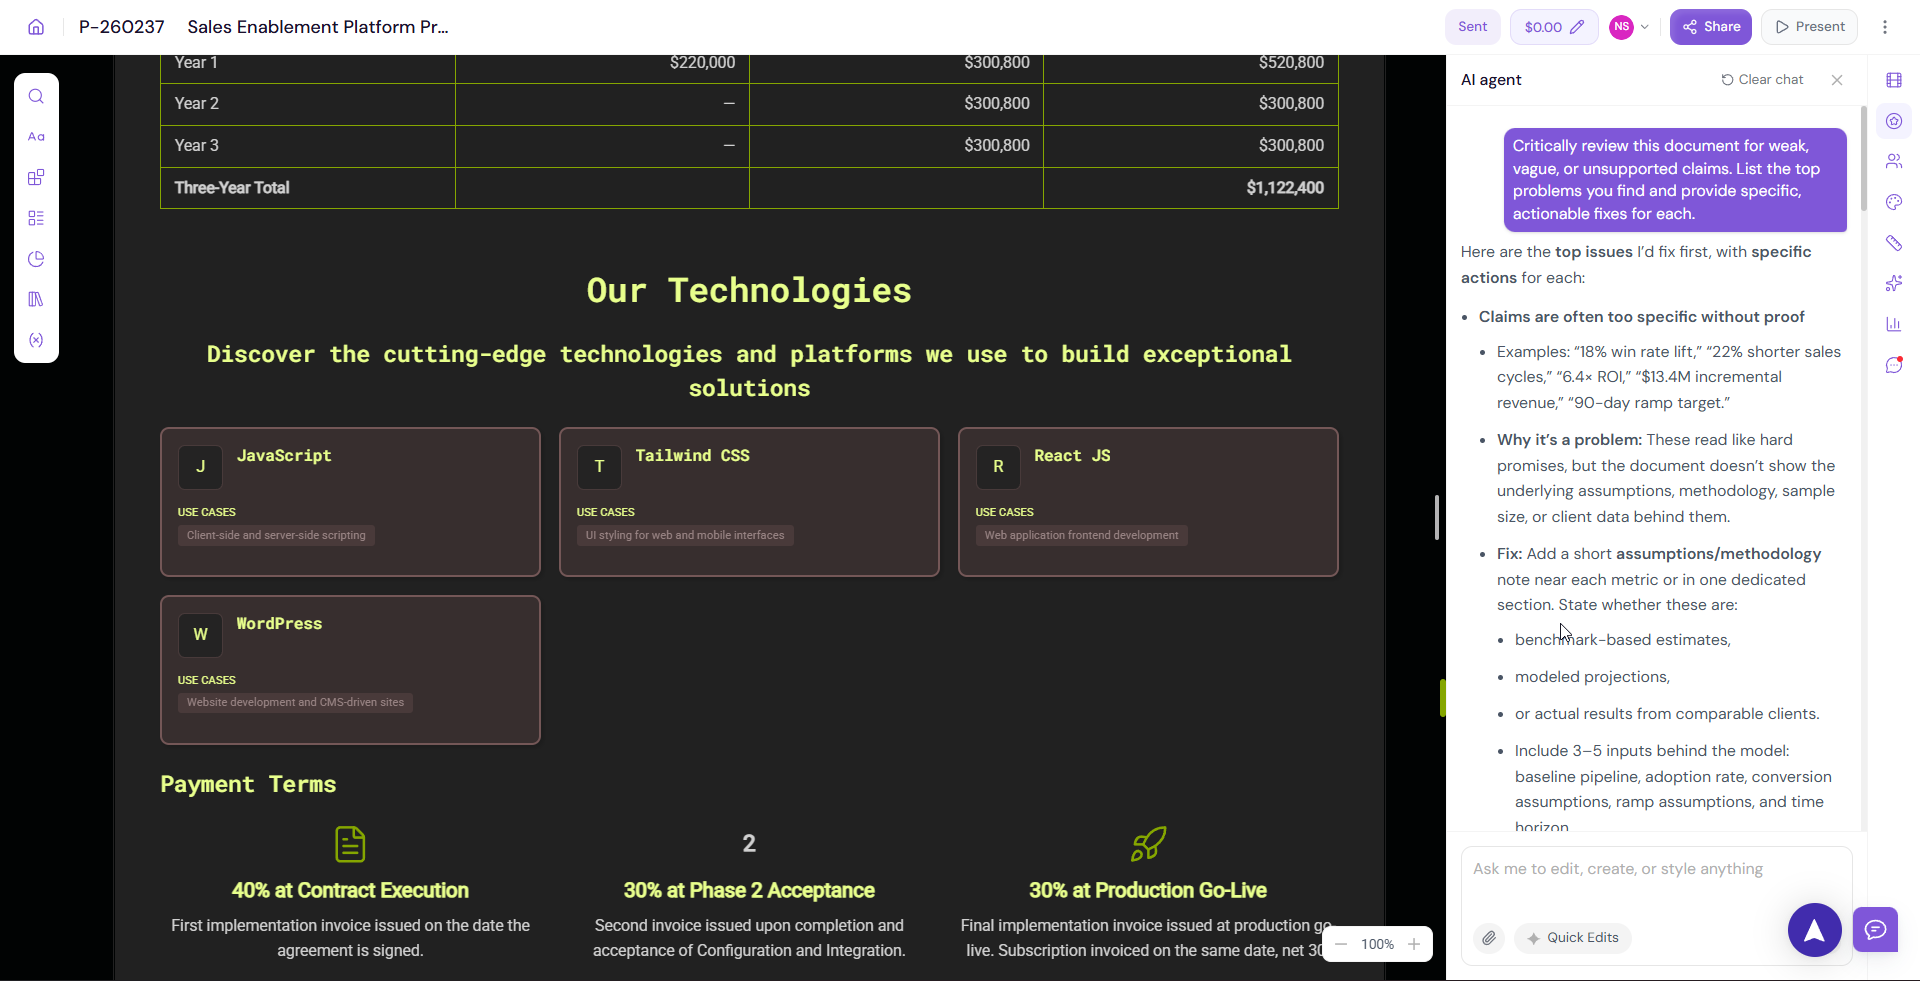
The AI Agent tab gives you access to Proposal.biz's built-in AI assistant directly inside the editor. Use it to edit, rewrite, or improve your document content without leaving the page.
Using the AI Agent:
Click the AI Agent icon on the right panel
The AI Agent panel will open
Type your instruction — for example "make this section more concise", "rewrite this in a formal tone", or "expand this paragraph with more detail"
The AI will generate a suggestion
-
Review the output and choose to Accept or Discard

Quick Edits
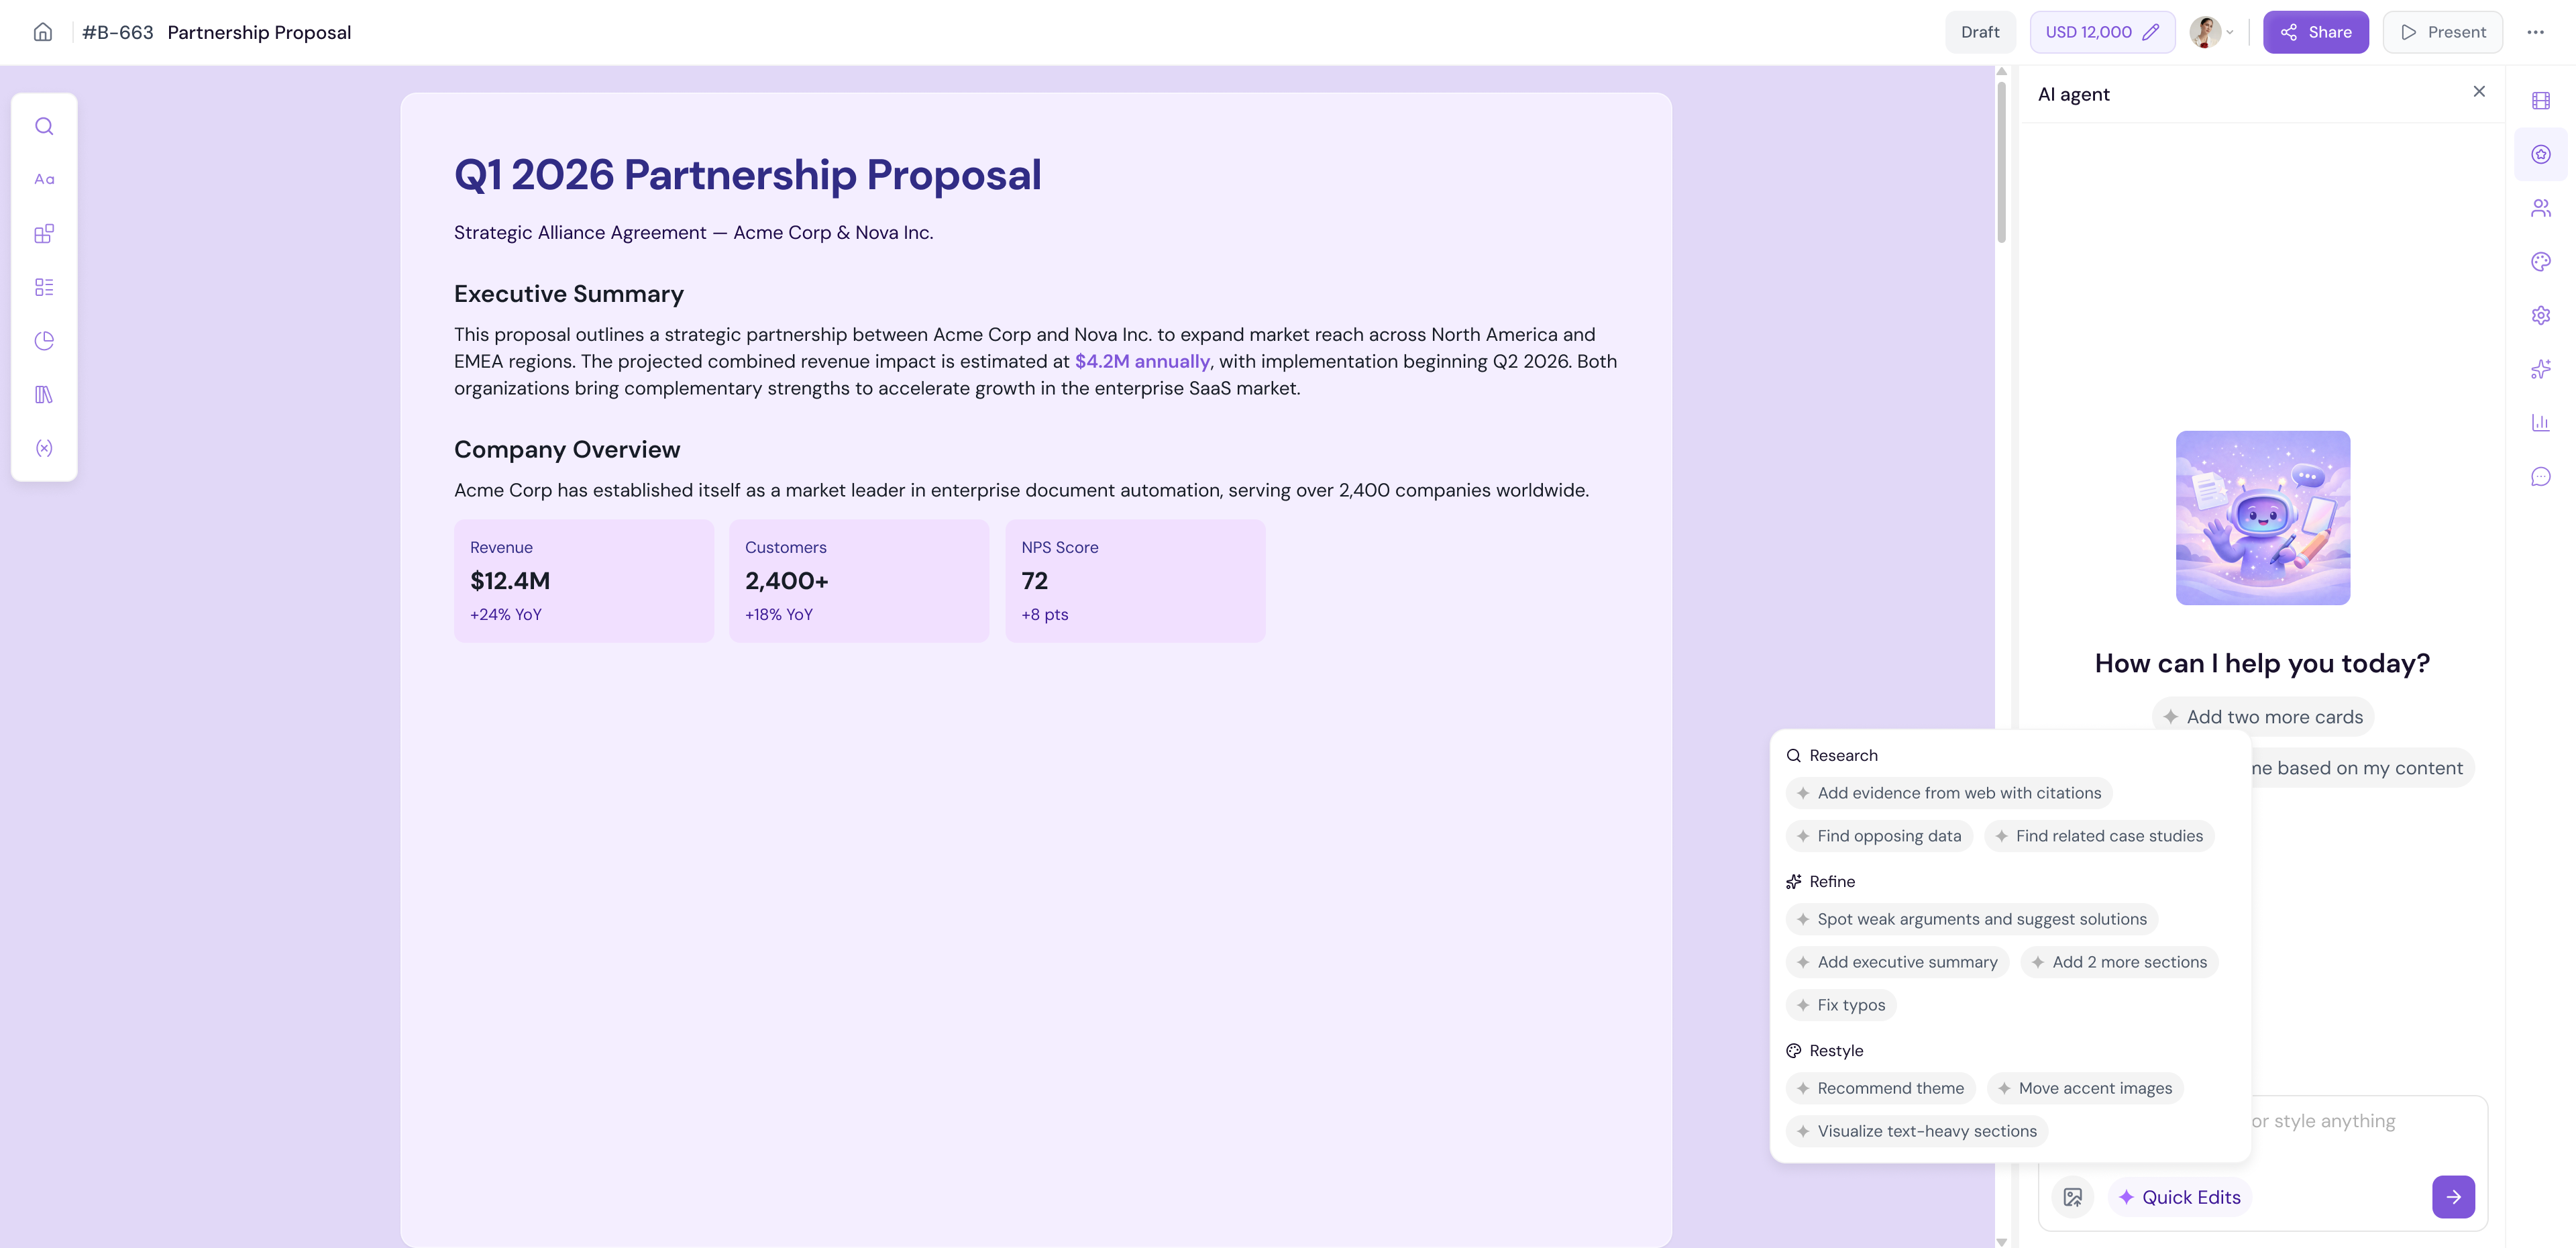
The AI Agent also provides a set of ready-made Quick Edit options for common tasks. Instead of typing a custom prompt, select a quick edit action to apply it instantly to your selected content.
Available quick edit options include actions such as:
Make it shorter
Make it longer
Improve writing
Fix grammar
Change tone
Simplify language
Select the text or block you want to edit on the canvas
Open the AI Agent panel
Click on a Quick Edit option
-
Review and accept the result
💡 Pro Tip Use Quick Edits for fast, common improvements — like tightening a paragraph or fixing grammar. Use custom prompts when you need the AI to do something specific that is not covered by the quick edit options.
Recipients
The Recipients tab is where you add and manage the people who will receive your document.
Click the Recipients icon on the right panel
Add a recipient by entering their name and email address
Assign them to the relevant recipient fields in your document
Click Save to confirm
If your document has multiple recipient fields (e.g. a primary contact and a secondary signer), you can assign different recipients to each field.
💡 Pro Tip If you have connected HubSpot or Zoho, recipient details can be pulled in automatically from your CRM — no manual entry required.
Themes
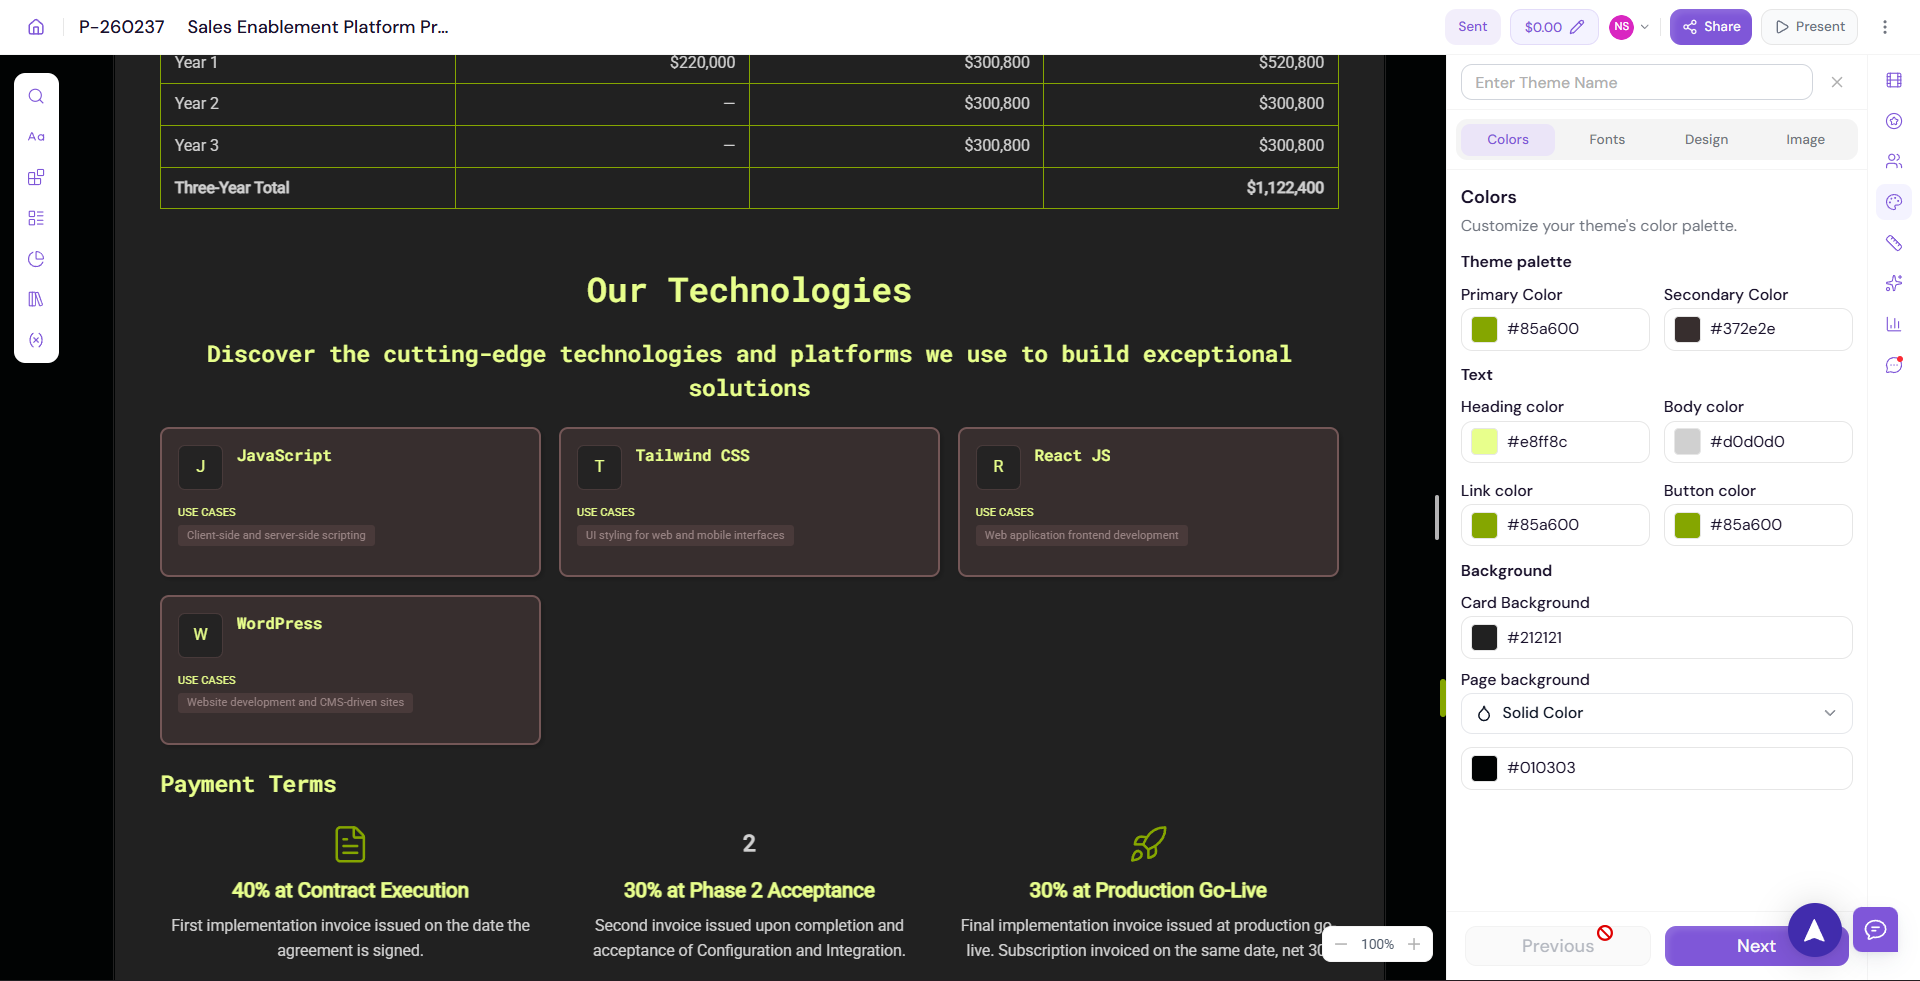
The Themes tab lets you fully customize the visual appearance of your document. Clicking the Themes icon opens the theme editor where you can adjust every visual element of your document.
Click the Themes icon on the right panel
The Themes panel will open
-
Customize the following:
Colours — Adjust your brand color palette
Fonts — Change heading and body typography
Cards — Customize card design elements
Blocks & Contents — Style content blocks
Buttons & Links — Customize button and link appearance
Images — Manage image display settings
-
Page Background — Choose a background colour, pattern, or image
Note Theme customization is covered in full detail in Customizing Your Theme.
Layout Settings
The Layout Settings tab lets you adjust the page layout of your document. The options differ depending on whether your document is a Document or a Presentation.
For Documents:
Page size
Page margins
Page orientation
Content width
For Presentations:
Slide size
Slide orientation
Custom layout options
Click the Layout Settings icon on the right panel
Adjust the settings for your document type
-
Changes are applied to the canvas in real time

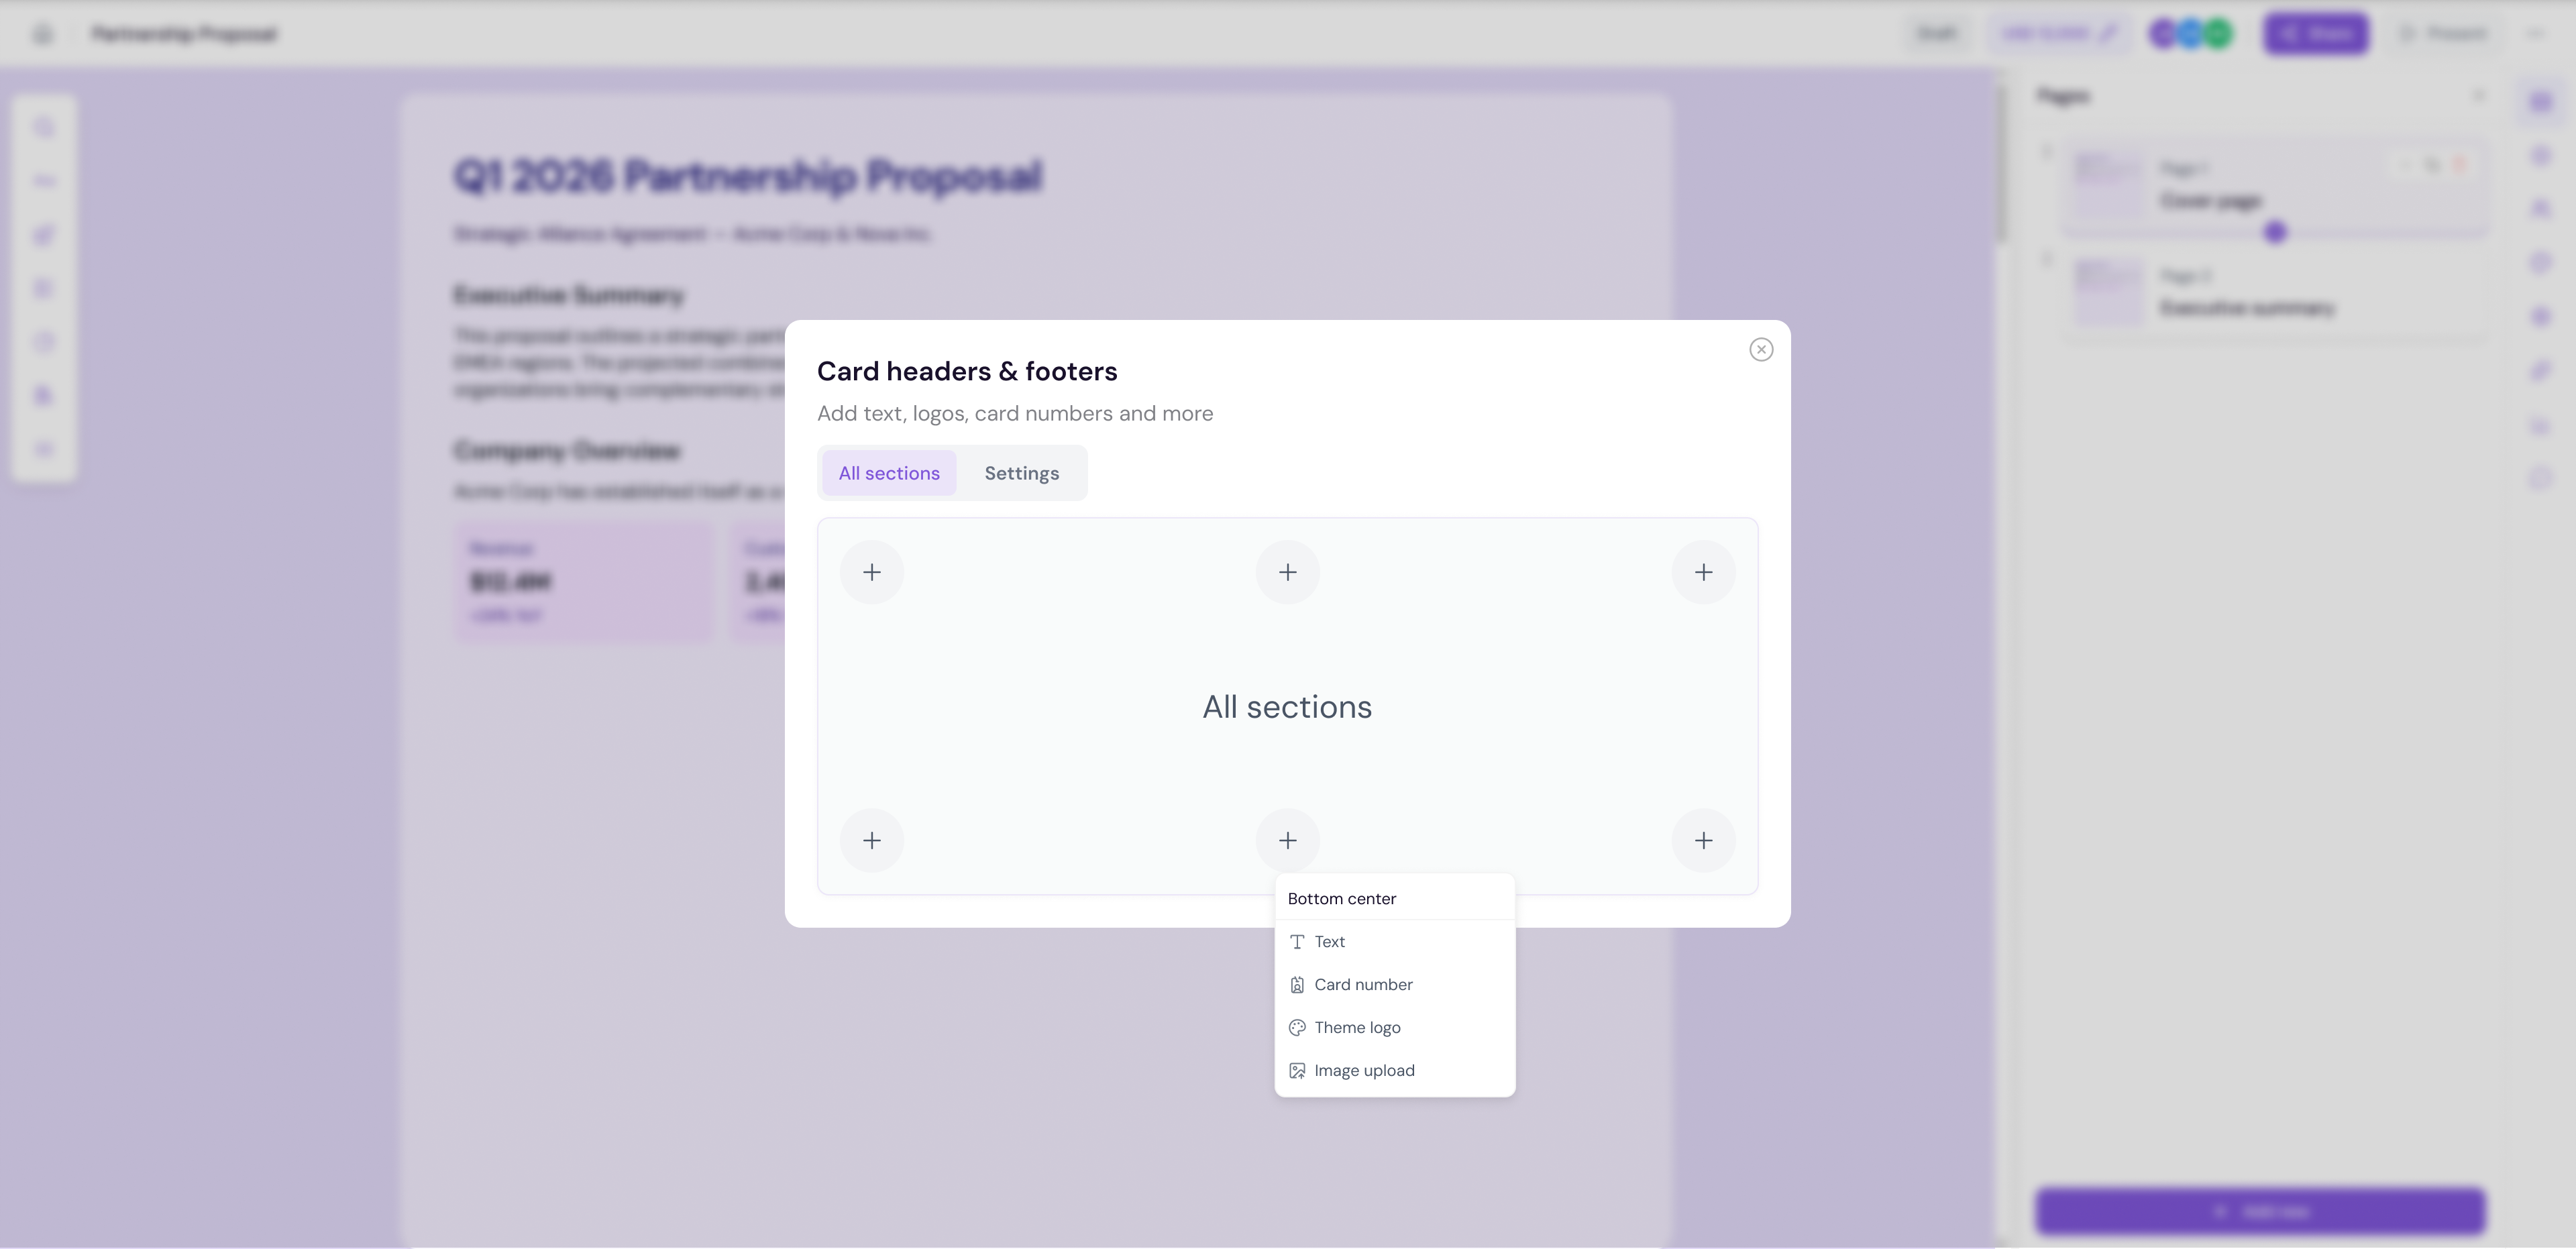
Card Headers & Footers
dd consistent headers and footers across all pages of your document. This is useful for branding elements such as your logo, company name, page numbers, or legal disclaimers.
Adding Headers & Footers:
Open the Card Headers & Footers option from the editor
The modal will open with header and footer configuration options
Add your content — such as logo, company name, or custom text
Upload any images needed for the header or footer
-
Click Save to apply across all pages
💡 Pro Tip Add your company logo to the header and your Terms of Service or Privacy Policy link to the footer. This keeps every page of your document looking professional and legally covered.
Evaluate
The Evaluate tab uses AI to score and review your document quality before you send it. It highlights strengths, identifies gaps, and gives you a clear score to measure how ready your document is.
Running an Evaluation:
Click the Evaluate icon on the right panel
If this is the first evaluation, the panel will show an empty state — click Evaluate to begin
-
Proposal.biz will analyze your document and return:
An overall AI Score with a label such as Fair, Good, or Excellent
A breakdown of Good, Okay, Missing Sections, and Needs Improvement areas
Review the feedback and make changes to your document based on the suggestions
-
Click Re-Evaluate at any time to refresh the score after making improvements

💡 Pro Tip Always run the Evaluate tab before sharing your document. The Missing Sections and Needs Improvement categories often highlight gaps that could make the difference between a document that gets signed and one that gets ignored.
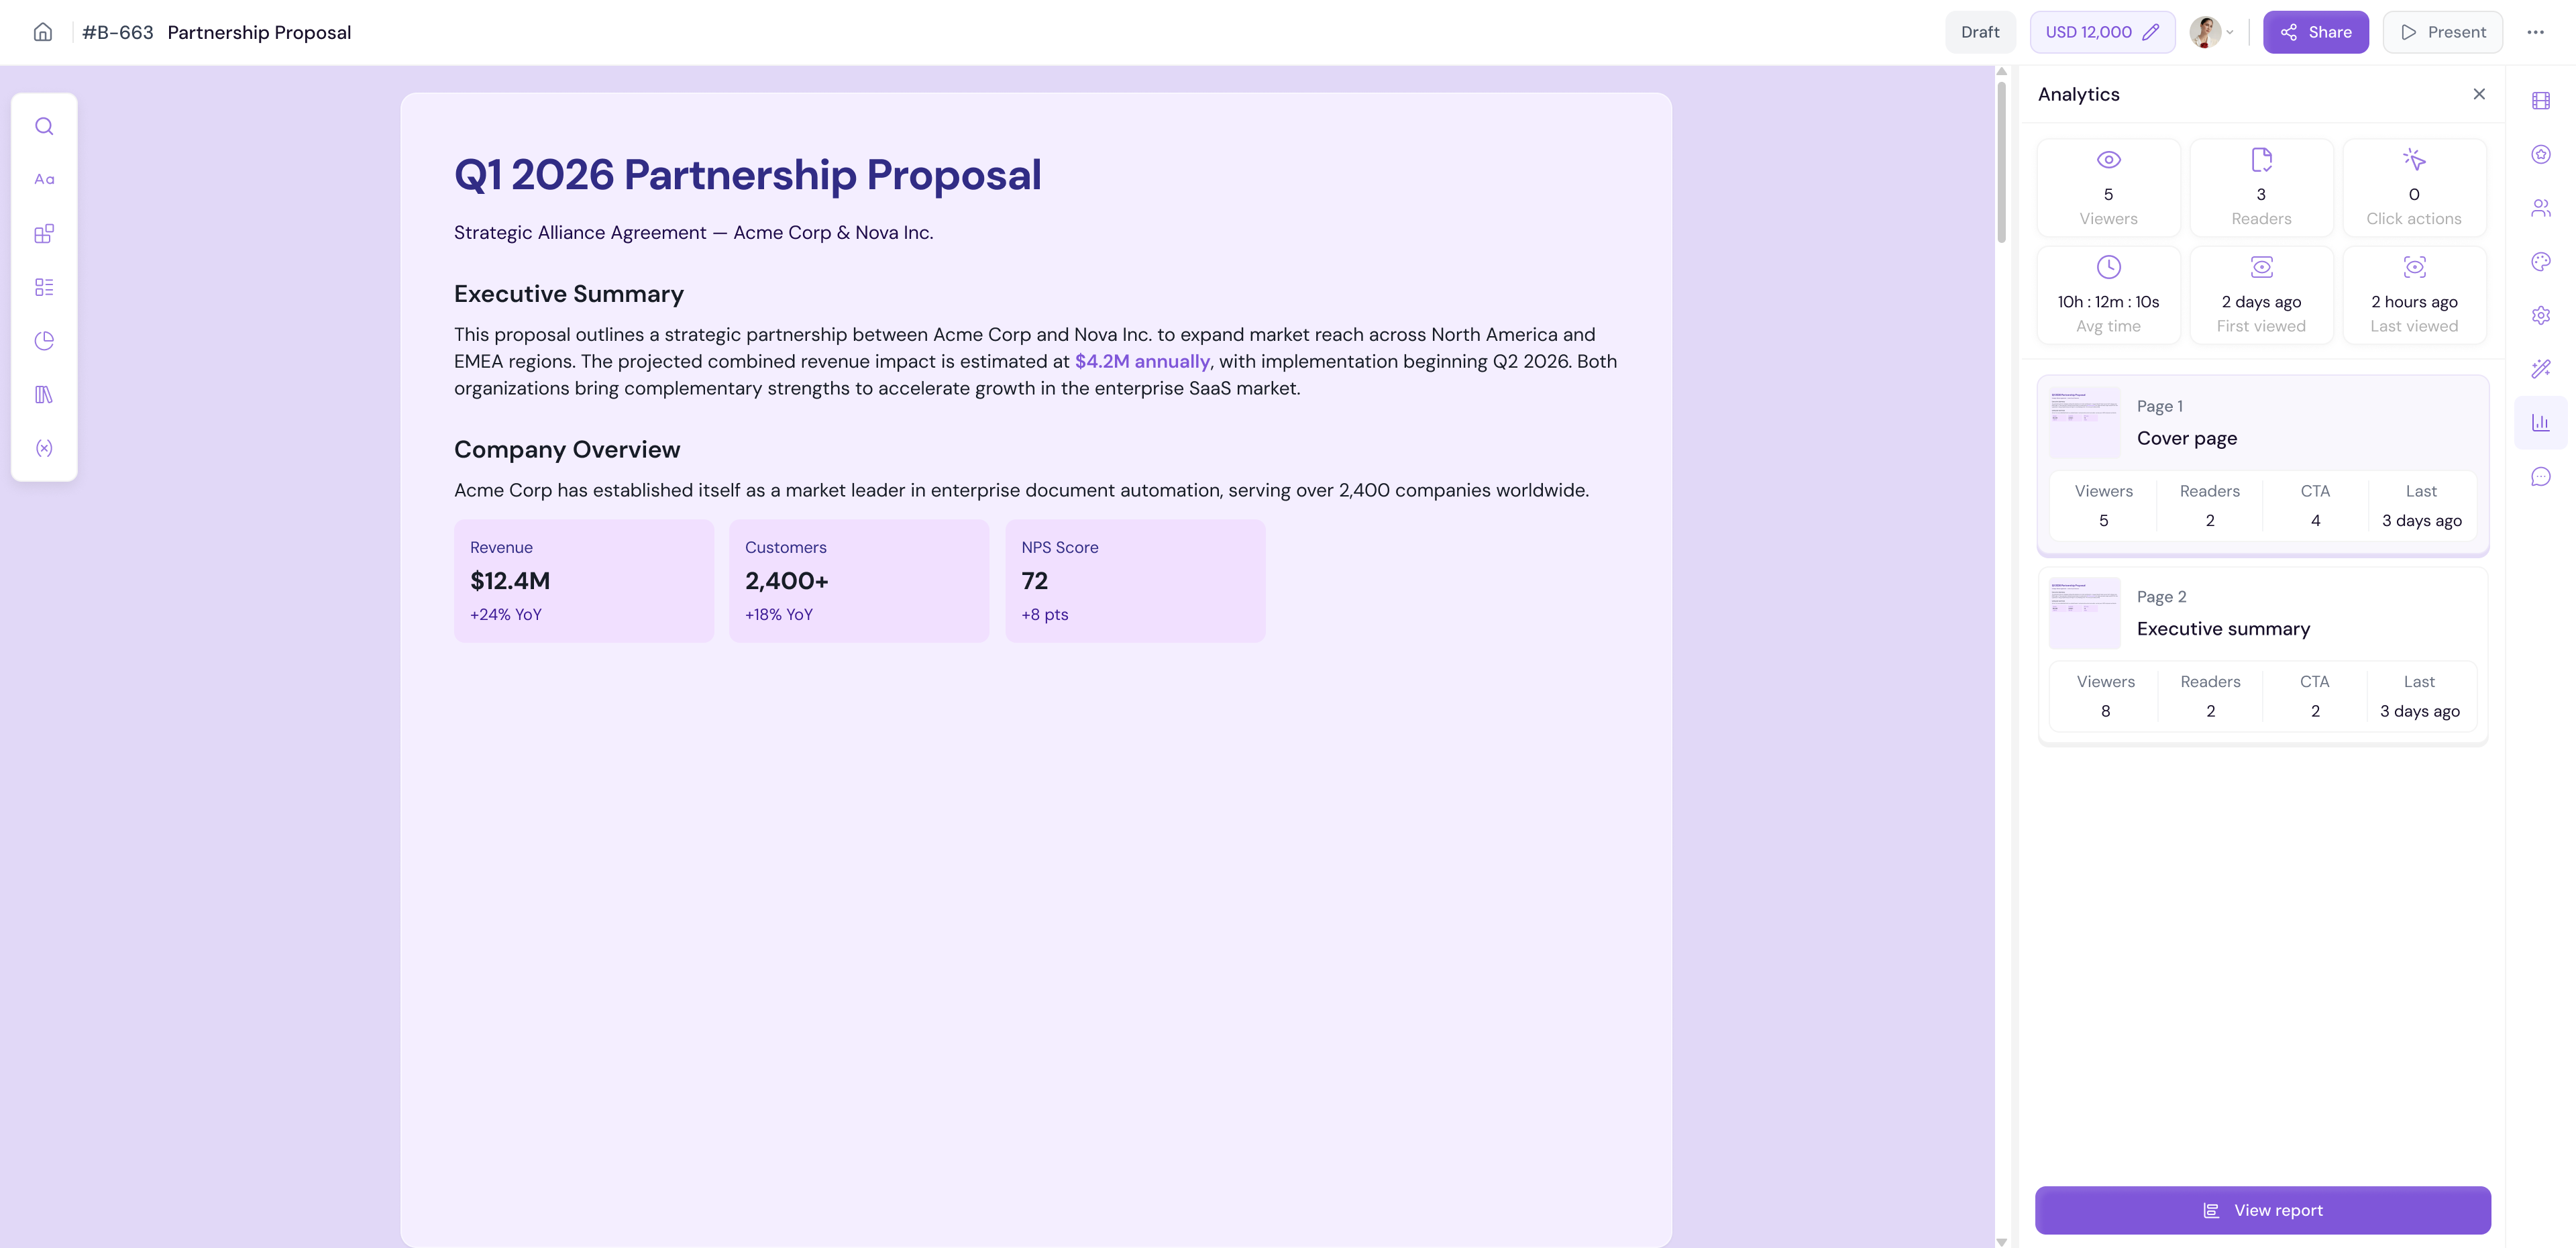
Analytics
The Analytics tab shows real-time engagement data for your document — directly inside the editor. This lets you monitor how recipients are interacting with your document without leaving the editor or going to the Reports page.
Click the Analytics icon on the right panel
View key metrics such as sessions, readers, and completion rate
-
Track activity over time

Note Detailed analytics including geographic distribution, reading time, version comparison, and AI insights are available in the full Reports dashboard. See Reports & Analytics for more.
Comments
The Comments tab lets you and your team add internal comments and feedback directly on the document. Comments are visible only to your team — recipients will not see them.
Adding a Comment:
Click the Comments icon on the right panel
Type your comment in the input field
Click Post to add it
Viewing Comments:
Click the Comments icon on the right panel
All existing comments will be displayed in chronological order
-
Reply to any comment to continue the conversation
💡 Pro Tip Use Comments for internal review before sharing your document with recipients. Tag specific team members or reference specific sections to keep feedback organized and actionable.
Next Steps Learn how to fully customize your document's visual appearance in Customizing Your Theme.