Overview
When your document is ready, click Send in the builder to open the Share Your Document window. From one place, you can share a link, send to specific people, create custom versions, export a copy, move the document to a folder, and control who can open it.
The window has five tabs:
-
Live Link: share with anyone or send directly to specific people
-
Custom Version: create different versions for different prospects
-
Export: download a copy as a PDF or PowerPoint file
-
Add to a Folder: move the document to a folder
-
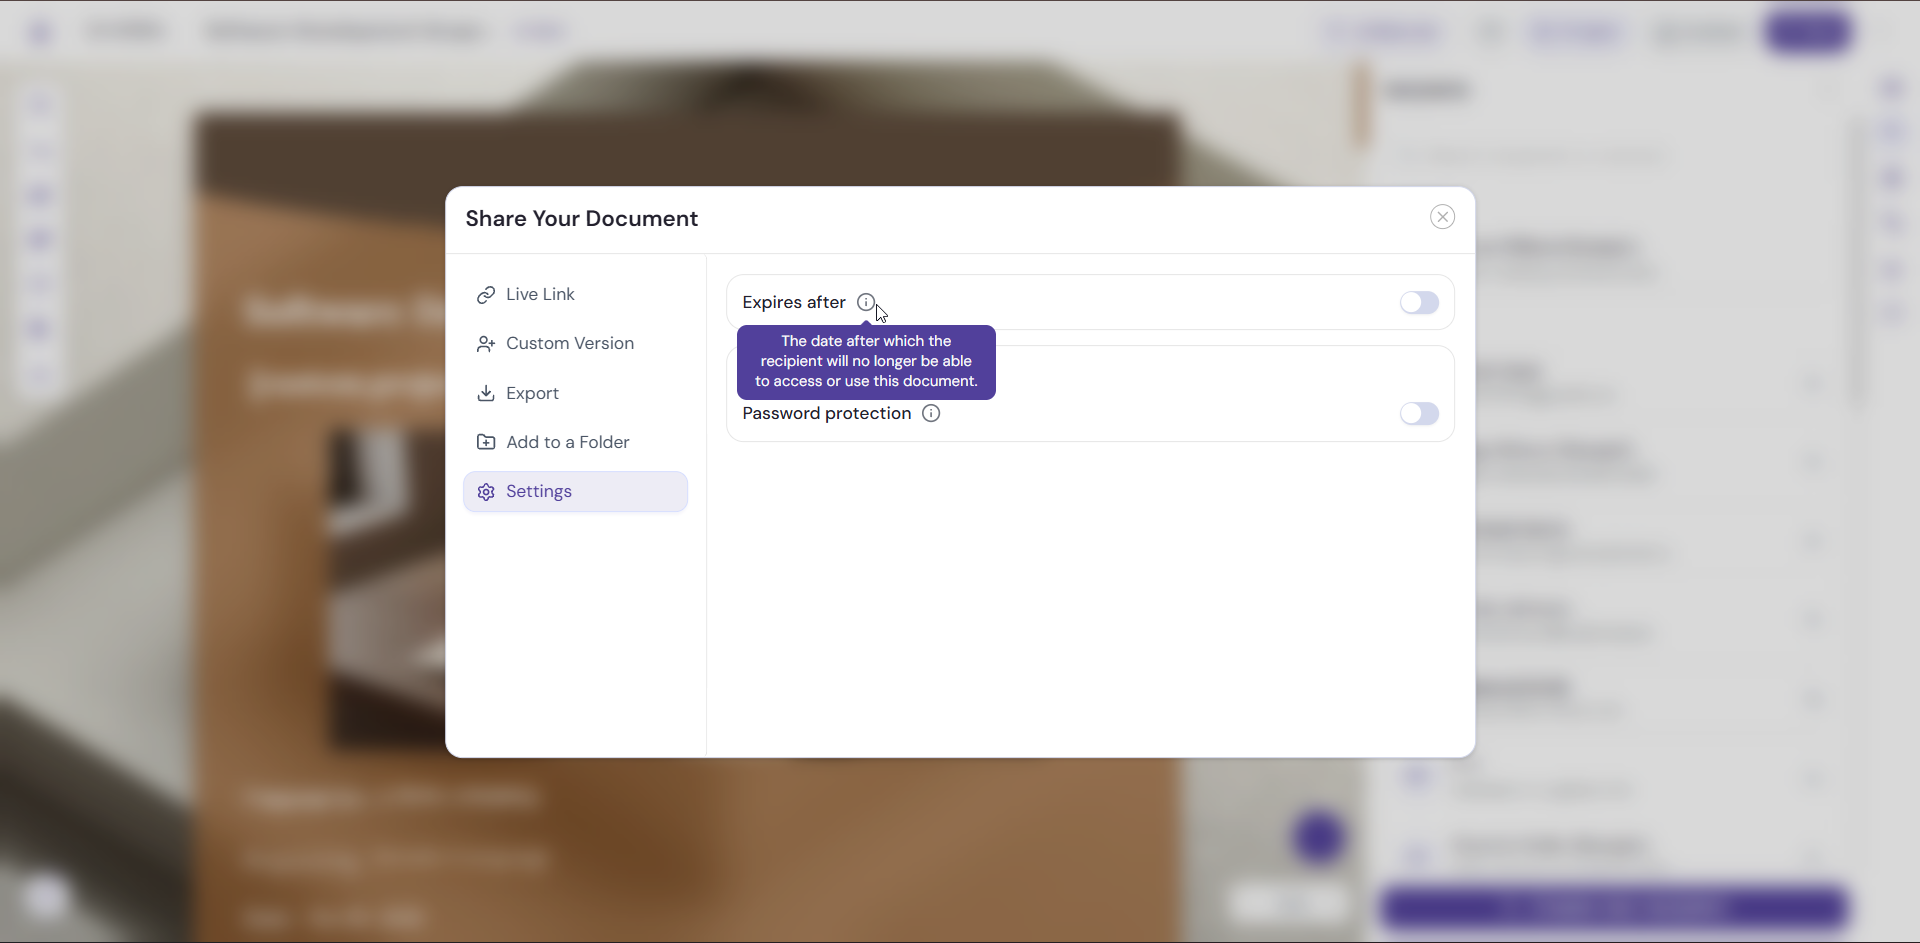
Settings: set an expiration and password protection
Preview Your Document First
Before you share, check your document the way a recipient will see it.
-
Click Present in the top bar.
-
Review your document in full-screen preview.
-
Close the preview to return to the builder.
Open the Share Window
-
Open your document in the builder.
-
Click Send in the top bar.
-
The Share Your Document window opens on the Live Link tab.
Live Link: Share with Anyone or Specific People
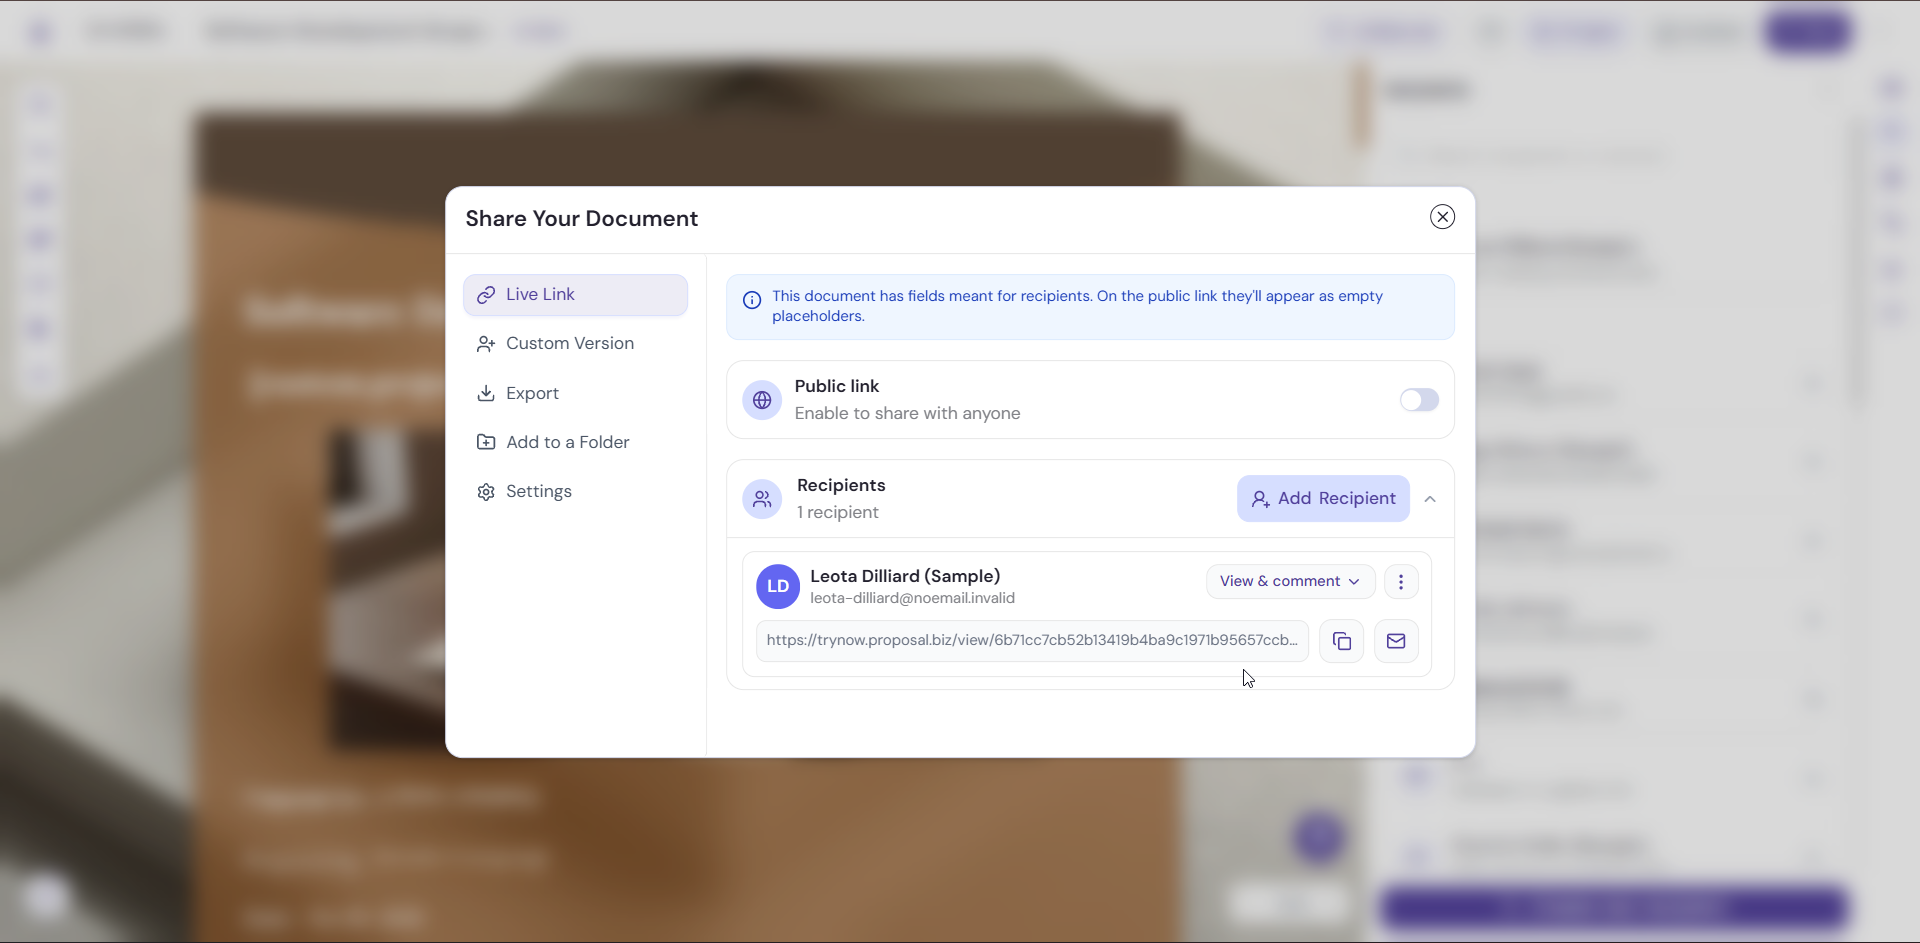
The Live Link tab gives you two ways to share.
Public link. Turn on the Public link toggle to share your document with anyone who has the link.
Recipients. Click Add Recipient to send your document directly to specific people.
If your document has fields meant for recipients, the tab shows a notice: those fields appear as empty placeholders on the public link.
To learn more, see Share Documents with Public Links.
Custom Version: Personalize for Different Prospects
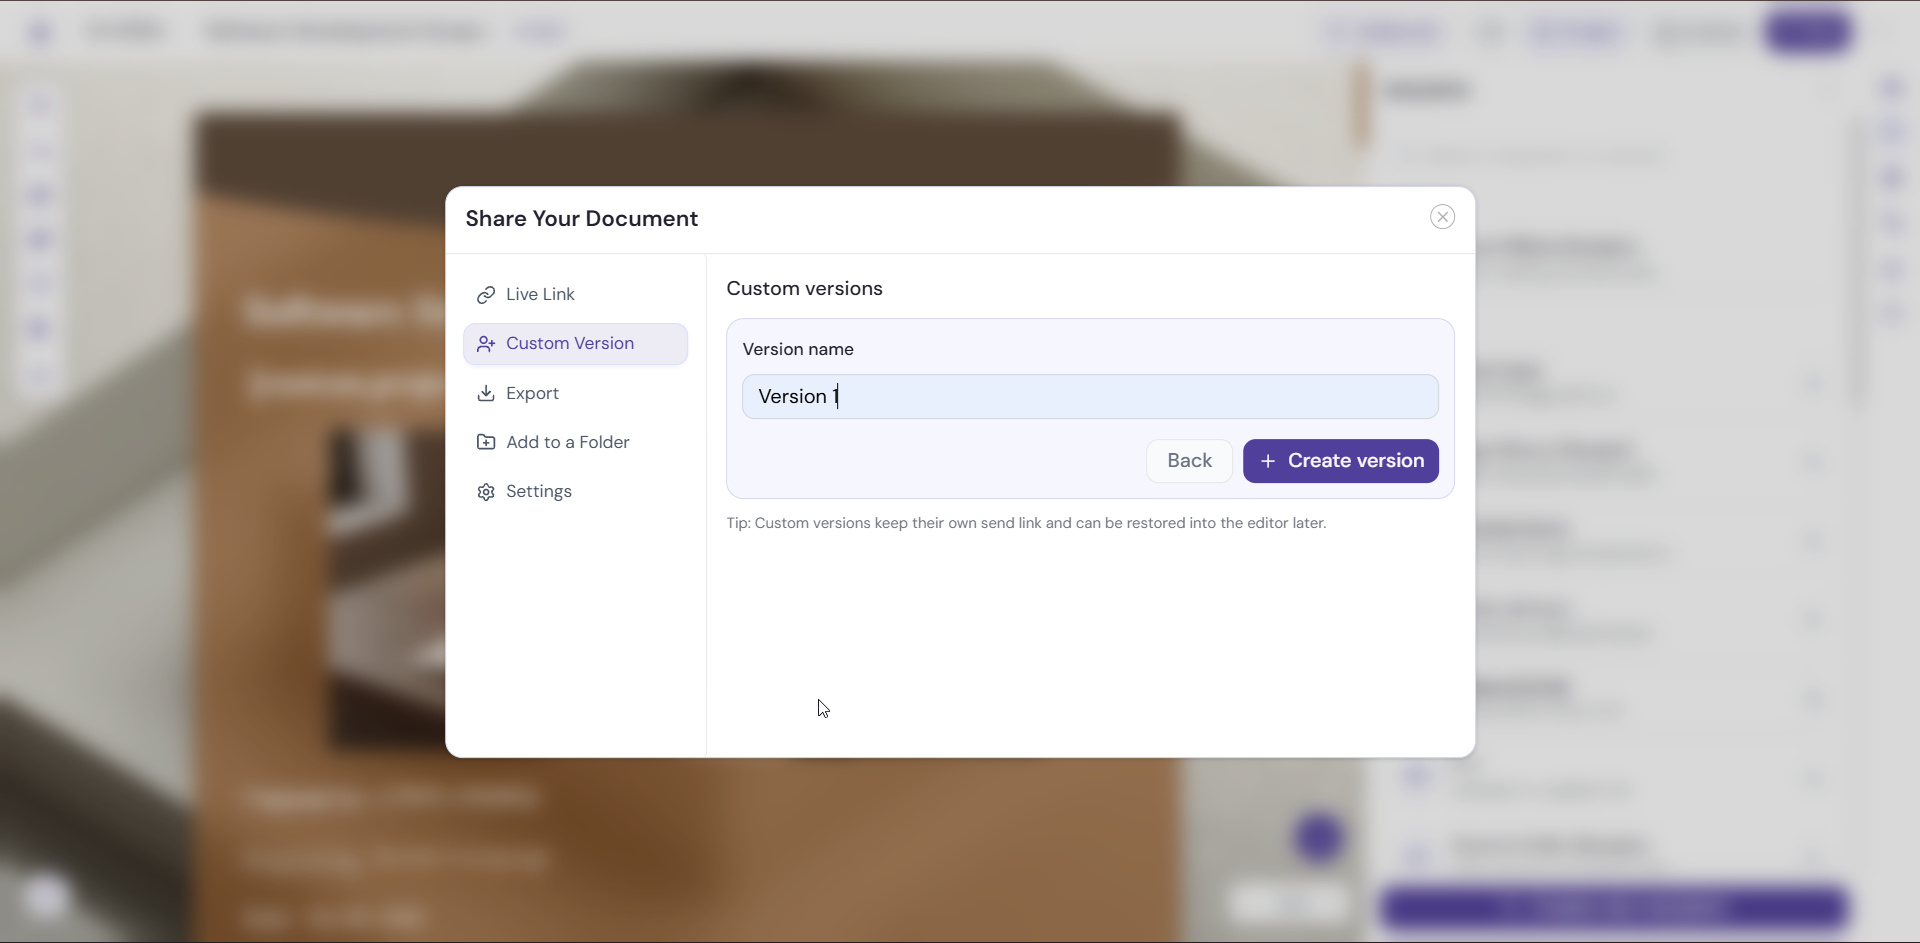
Create different versions of the same document for different prospects.
-
Click the Custom Version tab.
-
Click Create version.
To learn more, see Creating Custom Versions for Different Prospects.
Export: Download a Copy
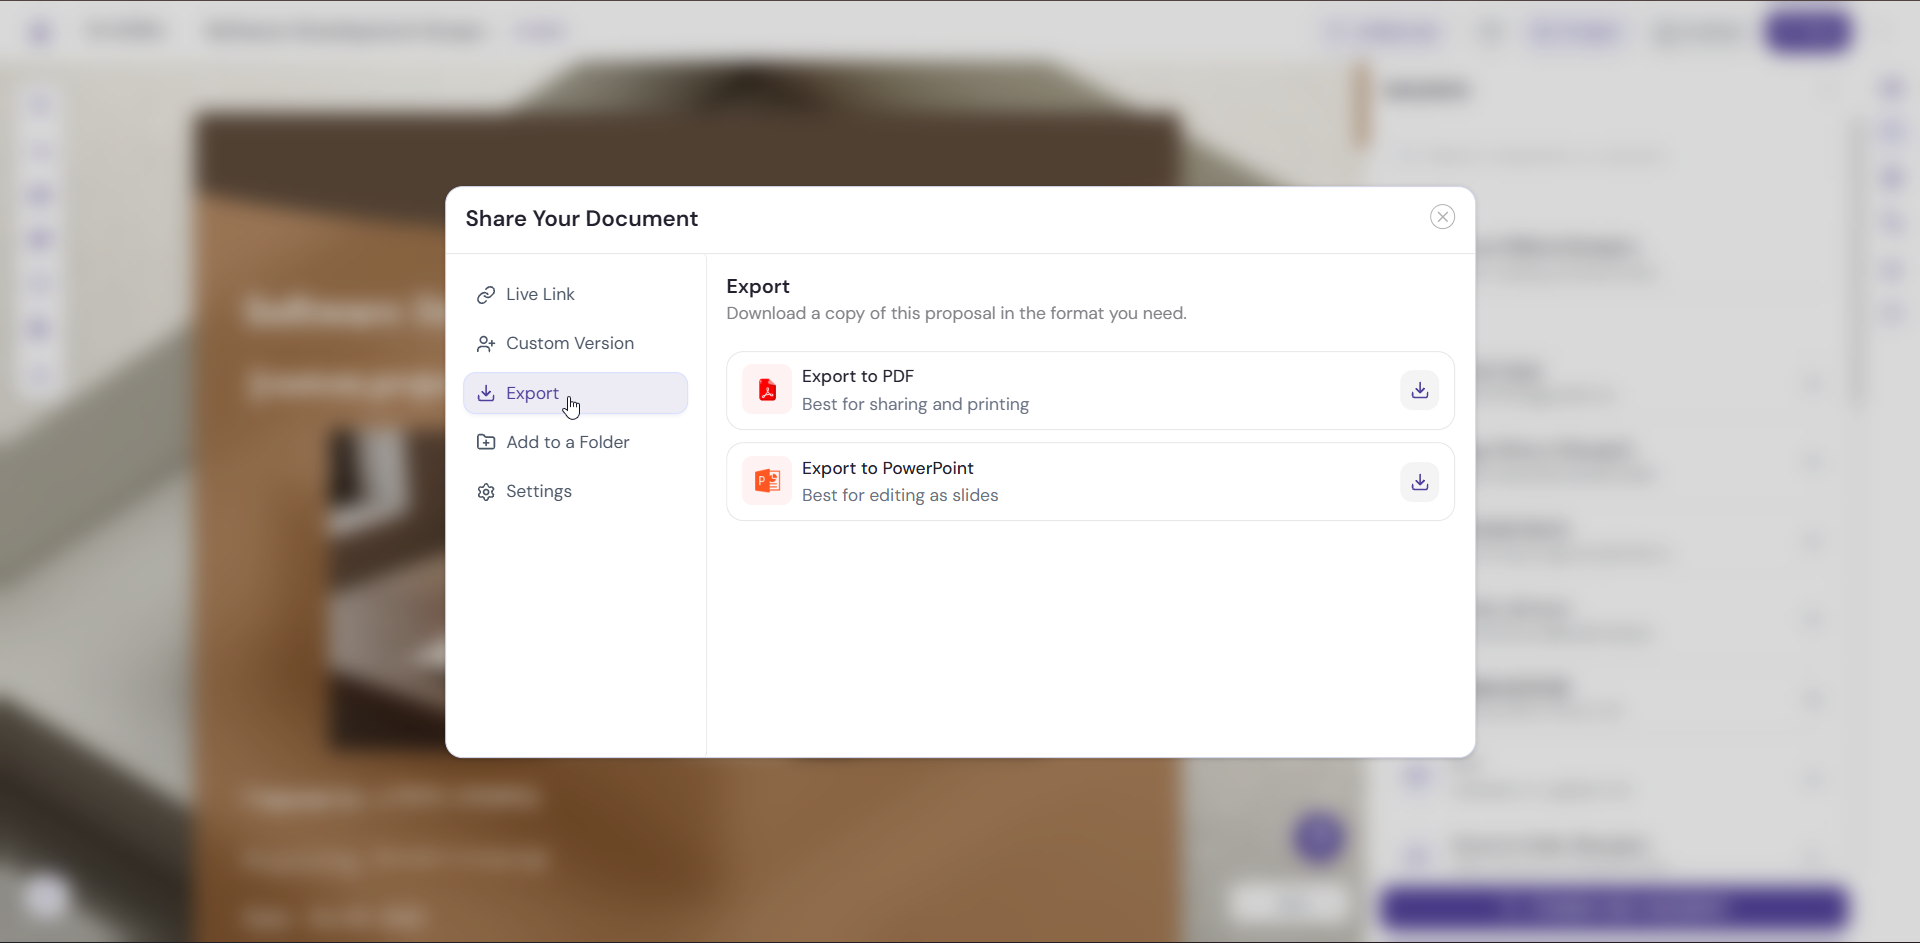
Download a copy of your document in the format you need.
-
Click the Export tab.
-
Choose a format:
-
Export to PDF: best for sharing and printing
-
Export to PowerPoint: best for editing as slides
-
-
Click the download icon next to your chosen format.
To learn more, see Exporting Your Document.
Add to a Folder: Keep Your Documents Organized
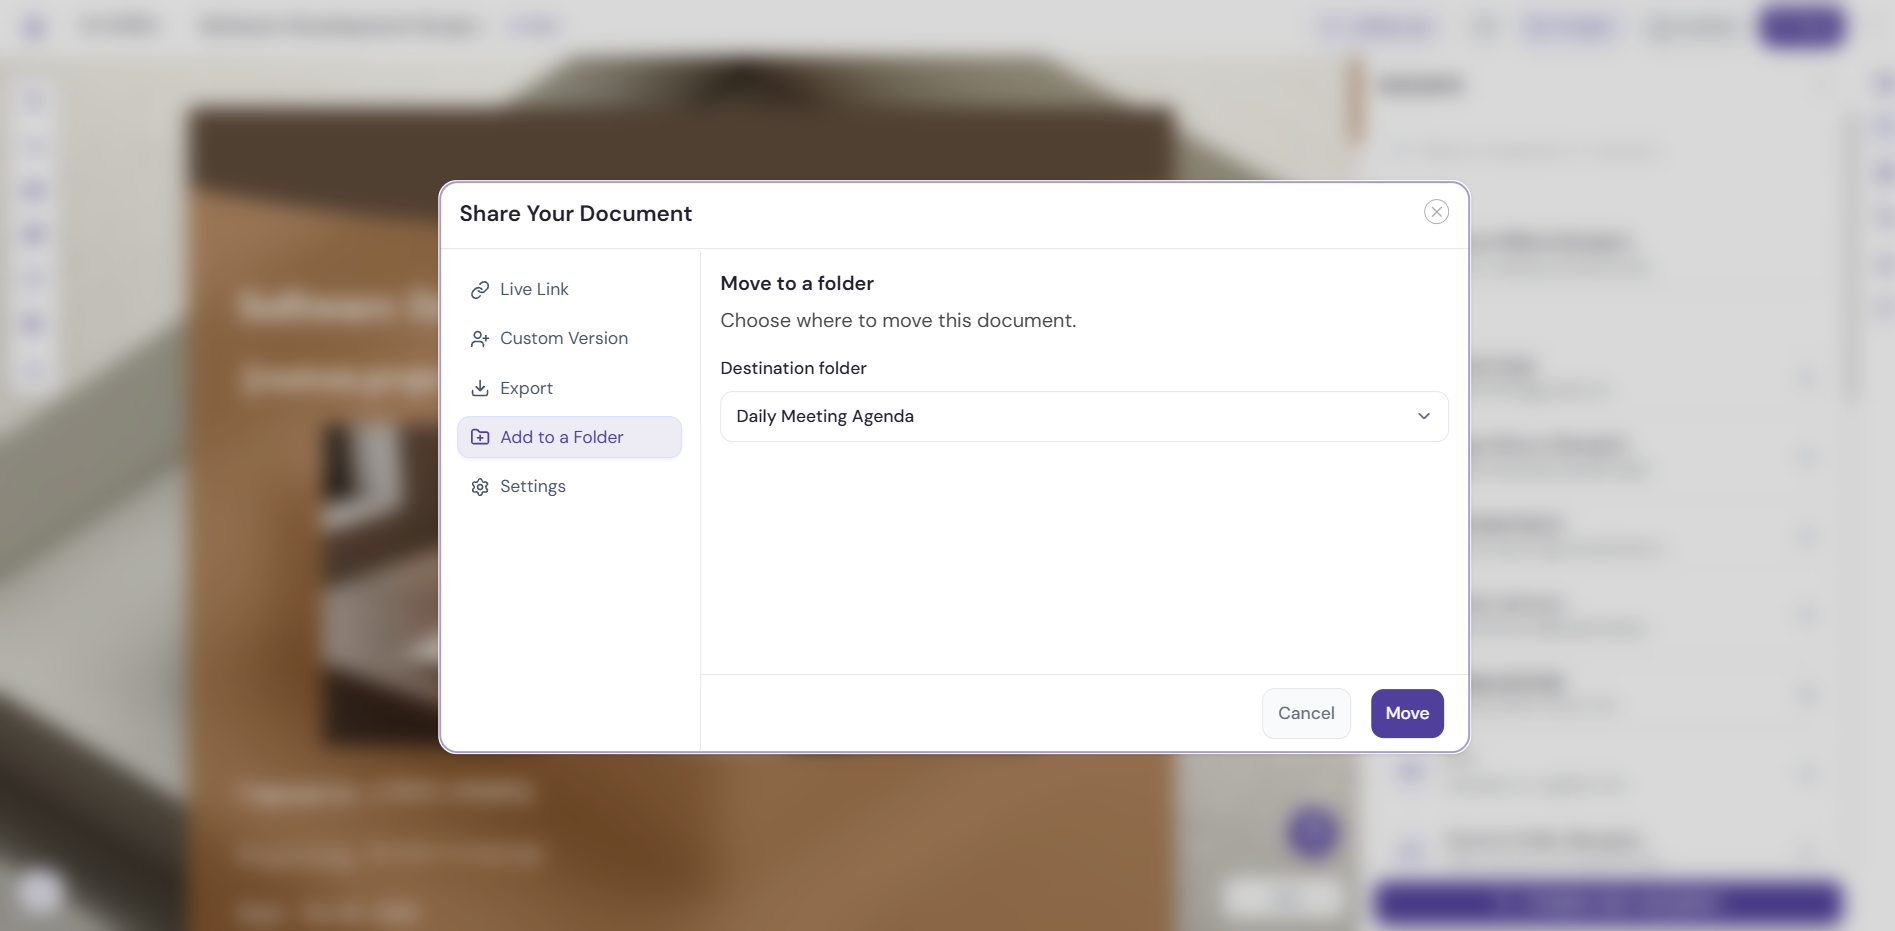
Move your document into a folder so it’s easy to find later.
-
Click the Add to a Folder tab.
-
Open the Destination folder dropdown and choose a folder. The default is None (Root level).
-
Click Move. Click Cancel to close without moving.
To learn more, see Organizing Documents in Folders.
Settings: Control Access
Use the Settings tab to decide how long and how securely your document can be opened.
-
Expiration Settings: turn on the toggle to set when your document stops being available. After that date, visitors see an expiry message instead of your document.
-
Password protection: turn on the toggle under Access setting so visitors must enter a password to open your document.
To learn more, see Password Protection for Shared Documents.
Pro Tips
-
Always use Present before you click Send. It shows your document exactly as a recipient sees it, so you can catch layout issues and typos.
-
Turn on password protection for documents with confidential pricing or business terms.
-
Create a custom version for each prospect so every document feels written for them.
Next Steps
Learn how to share with anyone in Share Documents with Public Links, or see how recipients engage in Document-Level Analytics.